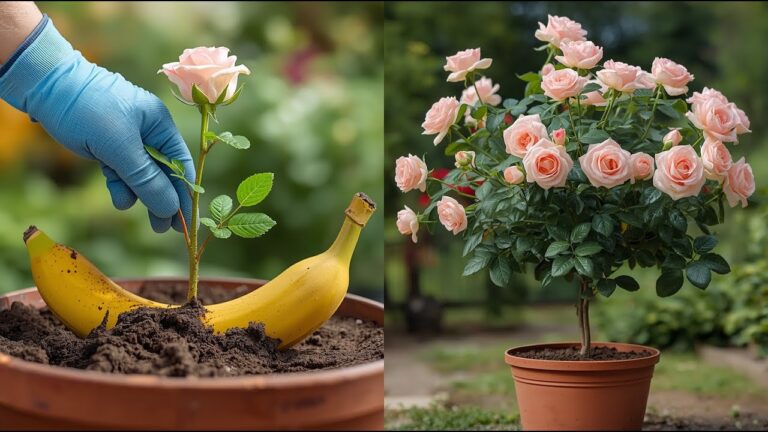
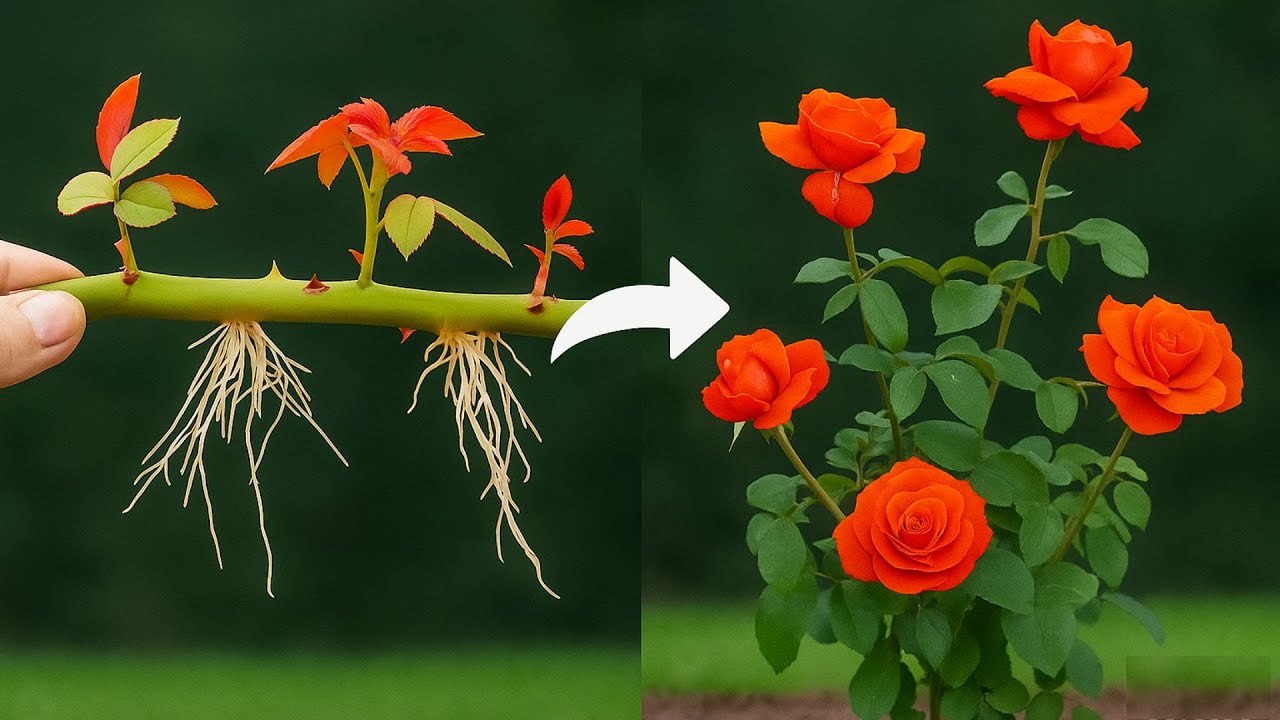
Grow 1,000 Roots Overnight with This Secret Rose Cutting Mix!
Grow Strong Rose Plants with This Simple Cutting Mix
- Introduction
- Essential Materials
- Preparing the Cutting Mix
- Planting the Cuttings
- Common Mistakes to Avoid
- FAQ
- Conclusion
Introduction
Starting a garden filled with beautiful roses often feels like a daunting task, especially when you’ve struggled in the past. You may have bought countless plants, only to see them wilt or fail to thrive. As the desire to cultivate your own stunning rose garden grows, it’s essential to find reliable methods that can help you succeed. This guide will provide you with a straightforward cutting mix that can significantly enhance your chances of success. Read on to unlock the secrets to nurturing robust rose plants!
Essential Materials
Before diving into the preparation of your rose cutting mix, it’s important to gather all the necessary materials. Having the right items on hand will streamline the entire process.
1. Ingredients for the Cutting Mix
- Coir or Peat Moss: This will help retain moisture and provide aeration.
- Pine Bark Fines: These serve as a natural humus source.
- Perlite: Helps with drainage and root development.
2. Tools You Will Need
- Mixing Container: Something large enough to combine all materials.
- Gloves: To protect your hands while working.
- Garden Trowel: Useful for mixing and planting.
3. Optional Additives
- Rooting Hormone: This can promote quicker root development.
- Organic Fertilizer: To enrich your cuttings over time.
Preparing the Cutting Mix
Creating the perfect cutting mix is about achieving the right balance. Follow these steps to ensure that your roses will have the best start possible.
1. Combine the Base Materials
- Measure: Use equal parts of coir or peat moss, pine bark fines, and perlite.
- Mix: In your container, combine the three materials thoroughly until well blended.
2. Add Optional Ingredients
- Incorporate: If using, add a small amount of rooting hormone and organic fertilizer.
- Mix Again: Ensure that these additives are evenly distributed.
3. Test the Moisture
After mixing, check the moisture content by grabbing a handful. If it holds shape but isn’t soggy, you’re ready to move on.
Planting the Cuttings
Now that your cutting mix is ready, it’s time to propagate those beautiful roses. Follow these practical steps to ensure proper planting.
1. Prepare the Cuttings
- Cut: Use sharp, clean scissors to snip healthy rose stems, cutting just below a node.
- Remove: Strip away any leaves from the lower half of the cutting to avoid rot.
2. Plant the Cuttings
- Fill: Place the cutting mix into your containers or planting beds.
- Dip: Optionally dip the base of each cutting into rooting hormone.
- Insert: Make a hole in the mix and gently place the cutting inside, covering it lightly.
3. Watering and Care
Once planted, give the cuttings a good drink by spraying them with water. Maintain moisture without soaking them.
Common Mistakes to Avoid
Creating the ideal environment for your rose cuttings requires attention to detail. Here are some common pitfalls to avoid.
- **Overwatering:** Too much moisture can lead to rot. Always check for excess water.
- **Choosing Poor Quality Cuttings:** Healthy stems are crucial; avoid damaged or diseased plants.
- **Insufficient Light:** Make sure your cuttings receive bright, indirect sunlight.
- **Neglecting Temperature Control:** Keep your cuttings in a warm area but out of direct heat sources.
FAQ
Can I use any rose stems for cuttings?
Ideally, use healthy stems from established plants, preferably those that are one year old. Look for semi-hardwood or new growth for the best results.
How long does it take for rose cuttings to root?
Typically, rose cuttings take about 2 to 4 weeks to develop roots, depending on conditions and care.
What should I do if my cuttings are wilting?
If your cuttings begin to wilt, check your watering schedule. They may need more moisture or protection from excessive sunlight.
Conclusion
Successfully creating a cutting mix and planting your rose cuttings can lead to a flourishing garden filled with beautiful blooms. With attention to detail, you can avoid common mistakes and promote healthy growth. Have you tried propagating roses before, or is this your first attempt?