7 Essential Shoe Repair Tips Every DIYer Should Know
7 Essential Shoe Repair Tips for Every DIYer
Introduction
Have you ever faced the disappointment of stepping out in your favorite shoes, only to find that they’re damaged? Whether it’s a broken heel, a split seam, or worn-out soles, the frustration can be palpable. Instead of tossing them aside, consider the possibility of giving them a new lease on life. Shoe repair might seem daunting, but with a few simple tips and tools, you can easily tackle the most common issues. Keep reading to discover helpful techniques that will transform your approach to shoe maintenance.
Materials Required
Before diving into repairs, gather the necessary supplies to ensure a smooth process.
- Adhesives: A strong shoe glue is essential for reattaching soles or fixing seams. Look for a flexible option that can withstand wear.
- Tools: A needle, thread (preferably waxed), scissors, and a pair of pliers are crucial for stitching or tightening loose parts.
- Replacement Parts: Keep a selection of insoles, laces, and heel caps on hand for quick fixes.
Common Shoe Repairs
Now that you have your materials ready, let’s explore some simple repairs.
1. Fixing a Broken Heel
- Remove any loose pieces from the heel.
- Apply a strong adhesive to the broken edge.
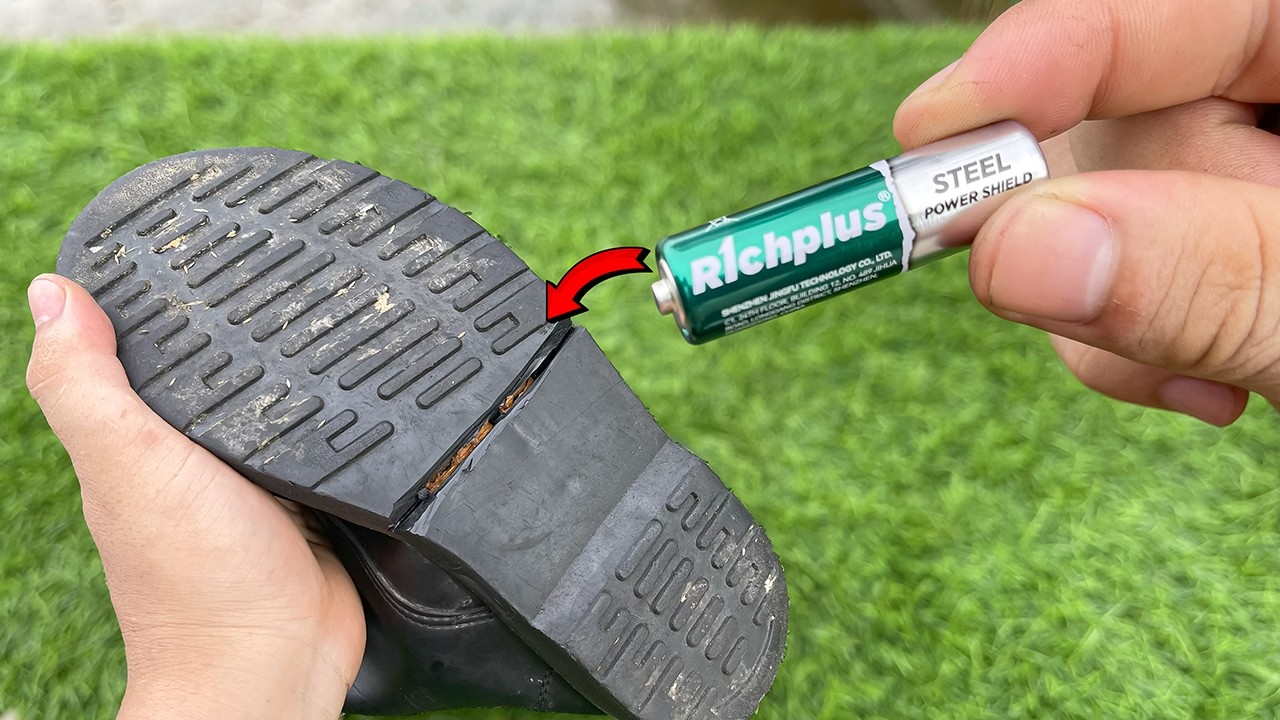
- Press the heel firmly back together and hold for a few minutes. For a more durable fix, clamp it tightly and allow it to cure overnight.
2. Repairing Torn Uppers
- Cut a piece of fabric or leather to patch the torn area.
- Use a needle and strong thread to sew the patch in place, and make sure to backstitch for extra security.
- Finish by applying a seam sealer for added waterproofing.
3. Replacing Insoles
If your insoles have seen better days, they can affect your comfort. Here’s how to replace them:
- Remove the old insoles from your shoes.
- Choose insoles that suit your needs, whether for support, cushioning, or moisture-wicking.
- Insert the new insoles, ensuring they fit snugly.
Mistakes to Avoid
Every DIYer encounters challenges. Here are common pitfalls you should sidestep.
- Using the wrong type of glue: Different materials require specific adhesives; using the wrong one can result in a weak bond.
- Skipping the drying time: Patience is key. Not allowing enough drying time can lead to disappointing results.
- Overlooking the entire shoe: Focus on the repair, but don’t forget to assess the overall condition of the shoe.
FAQ
What type of glue is best for shoe repairs? Look for a flexible, waterproof adhesive designed specifically for shoes.
Can I use fabric to patch leather shoes? Yes, using a fabric patch is a great solution for torn leather, just ensure it’s securely sewn.
How often should I replace insoles? It’s best to replace insoles when you notice wear, or at least every 6-12 months for optimal comfort.
Conclusion
By following these tips, you can successfully extend the life of your favorite shoes and keep them looking great. Have you tried any shoe repairs before? Share your experiences in the comments below!