DIY Soft Fabric Rose: Easy Step-by-Step Craft Tutorial
DIY Soft Fabric Rose: Easy Step-by-Step Craft Tutorial
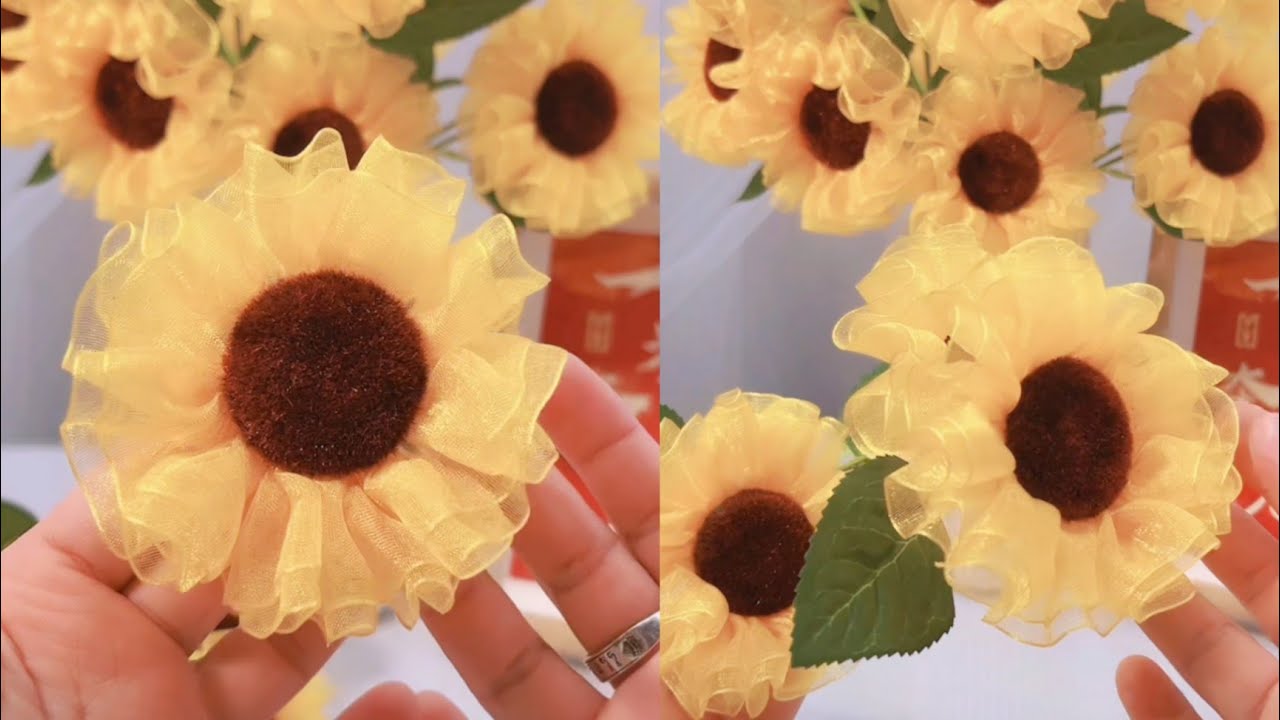
Creating beautiful soft fabric roses is a delightful project that can enhance your home decor or make unique gifts. In this tutorial, we’ll guide you through the process of crafting these lovely flowers step-by-step.
Materials You’ll Need
- Soft fabric (cotton or felt is recommended)
- Scissors
- Hot glue gun and glue sticks
- Floral wire or pipe cleaners
- Green fabric for leaves (optional)
Step 1: Cut the Fabric
Begin by cutting the soft fabric into circles. You can create various sizes for a more dynamic bouquet. Here’s a quick guide:
- Small circles: 3 inches in diameter
- Medium circles: 4 inches in diameter
- Large circles: 5 inches in diameter
Step 2: Prepare the Fabric Circles
Once you have your circles cut out, it’s time to make them look more petal-like. Gently fold each circle into a quarter and then roll it up from the outside edge inward. This will form the base of your rose.
Step 3: Secure the Rose Shape
Use your hot glue gun to attach the rolled fabric to a piece of floral wire. Hold the fabric in place until it dries completely. You can adjust the flower shape by gently pulling on the petals to create fullness.
Step 4: Attach the Leaves (Optional)
If you want to add some greenery, cut small leaf shapes from green fabric. Attach the leaves to the base of the flower using the hot glue gun for a charming finish.
Step 5: Display Your Fabric Roses
Your fabric roses are now ready to be displayed! You can arrange them in a vase, use them as embellishments on gifts, or even incorporate them into a hair accessory.
Conclusion
Crafting soft fabric roses is not only a fun DIY project but also an excellent way to add a personal touch to your home or gifts. With just a few materials and some time, you can create stunning flowers that will brighten any space. Happy crafting!