5 Secret Tips to Root Rose Cuttings in Days Using This Organic Trick
5 Secret Tips to Root Rose Cuttings in Days Using This Organic Trick
Introduction
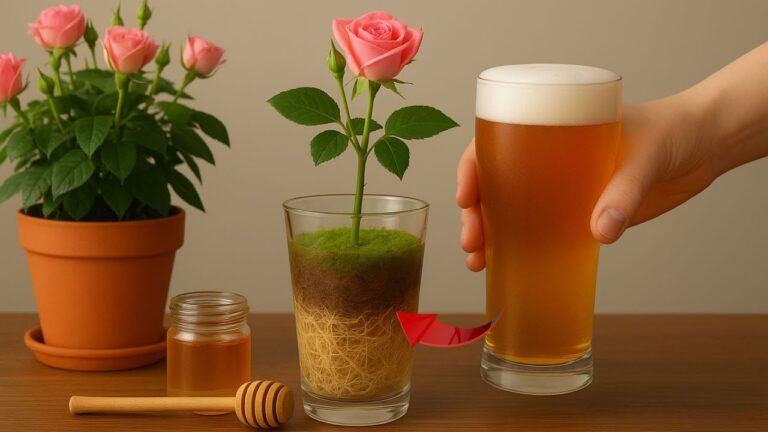
Have you ever admired a friend’s garden bursting with vibrant roses, only to wish you could replicate that beauty in your own yard? Growing roses from cuttings can feel like a daunting task, and many enthusiasts find themselves feeling uncertain about the process. But with a few helpful tips and a little patience, you can successfully root rose cuttings and create your own stunning rose garden. Let’s explore these secret tips to root rose cuttings effectively and organically.
Required Materials
Before diving into the process, it’s essential to gather all necessary materials. Having everything prepared will streamline your efforts and enhance your success rate.
- Healthy rose cuttings (6-8 inches long)
- Pruning shears
- Potting soil or a seed-starting mix
- Containers (such as pots or trays)
- Watering can or spray bottle
- Rooting hormone (organic option recommended)
Step-by-Step Guide
Let’s delve into the details of rooting your rose cuttings using some practical techniques. Follow these tips closely for the best outcome:
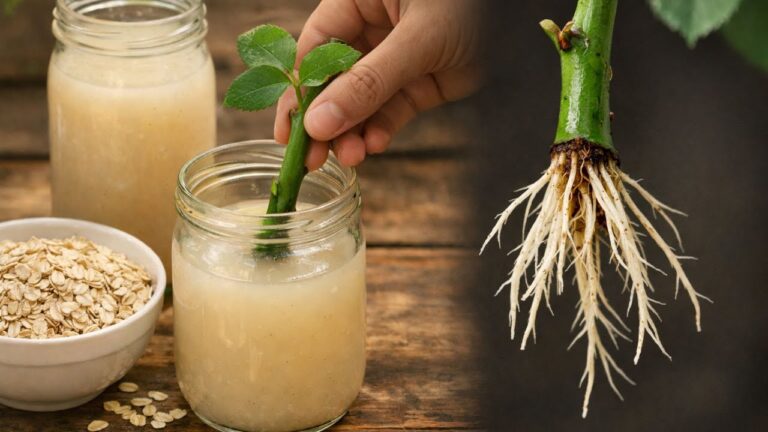
1. Preparing the Cuttings
- Select healthy stems that are about 6-8 inches long, ideally from the current season’s growth.
- Use clean pruning shears to cut just below a leaf node at a 45-degree angle.
- Remove the lower leaves, leaving only one or two sets at the top to reduce water loss.
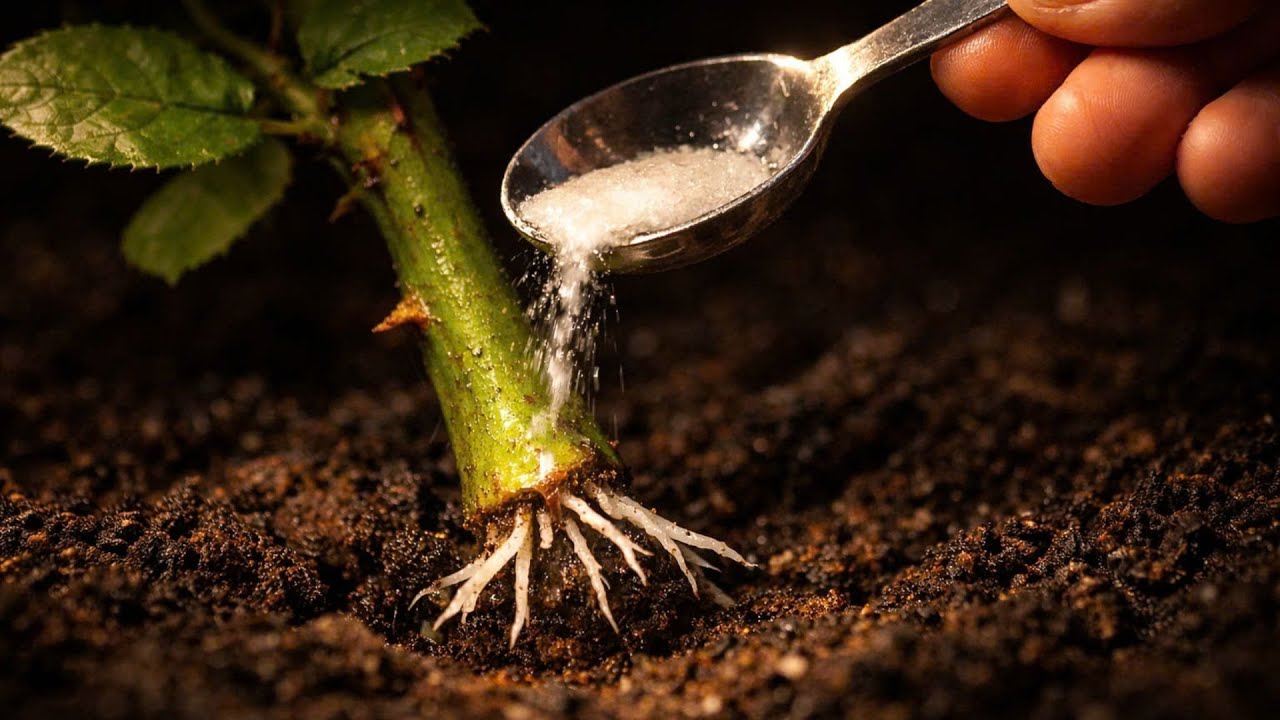
2. Applying Rooting Hormone
Rooting hormone can significantly increase your success rate. Here’s how to apply it:
- Dip the cut end of each cutting into the rooting hormone until it’s coated.
- Shake off any excess hormone gently to prevent mold.
3. Planting the Cuttings
Now it’s time to plant your prepared cuttings:
- Fill your containers with the potting soil or seed-starting mix, leaving about an inch of space at the top.
- Make holes in the soil with your finger or a stick (about 2-3 inches deep).
- Insert each cutting into its hole, ensuring that the part coated with rooting hormone is buried.
- Press the soil around the cutting gently to eliminate any air pockets.
4. Watering and Care
Proper care will help your cuttings thrive:
- Water the cuttings gently until the soil is moist but not soggy.
- Cover your containers with a plastic bag or a clear plastic dome to retain moisture.
- Place the containers in a warm, bright location, but avoid direct sunlight to prevent overheating.
Common Mistakes
Even with the best intentions, it’s easy to make some common errors while rooting rose cuttings. Here are a few to watch out for:
- Using cuttings that are too woody, which may not root well.
- Neglecting to remove the lower leaves, leading to excessive moisture loss.
- Overwatering the cuttings, which can cause mold and rot.
- Placing the cuttings in direct sunlight too soon can stress the plants.
- Failing to provide adequate humidity by not covering the cuttings, which is essential for successful rooting.
FAQ
What’s the best time to take rose cuttings? The best time to take cuttings is during the spring or early summer when the plants are actively growing.
How long does it take for rose cuttings to root? Typically, rose cuttings can take anywhere from two to eight weeks to develop roots, depending on the conditions.
Can I root rose cuttings in water? Yes, you can root rose cuttings in water, but soil usually offers better support and nutrients for growth.
Conclusion
Rooting rose cuttings requires careful preparation and attention, but following these secret tips to root rose cuttings can lead to beautiful blooms in your garden. Have you tried growing roses from cuttings before? Feel free to share your experiences or tips in the comments!