5 Tips to Root Garlic Rose Cuttings for Crazy Blooms!
5 Essential Tips for Rooting Garlic Rose Cuttings
- Introduction
- Preparing Your Cuttings
- The Ideal Environment for Rooting
- Common Mistakes to Avoid
- Frequently Asked Questions
Introduction
Have you ever admired the vibrant blooms of garlic roses and thought about bringing that beauty to your own garden? The process of rooting your own cuttings can seem daunting, especially if you’re unsure where to begin. Whether you have a loved one’s garden to draw inspiration from or your own plant that needs a little grooming, the right tips can make this task much easier. Continue reading to discover how you can successfully propagate garlic rose cuttings.
Preparing Your Cuttings
To ensure your garlic rose cuttings flourish, proper preparation is key. Here’s how to get started:
- Choose Healthy Stems: Select a healthy stem from an established garlic rose plant. Look for stems that are about 6 to 8 inches long and have no signs of disease or damage.
- Make the Cut: Using sharp pruning shears, cut the stem at a 45-degree angle. This increases the surface area for water absorption.
- Remove Lower Leaves: Strip away the leaves from the bottom half of the stem. Leaving just a few leaves at the top will help the plant focus its energy on rooting.
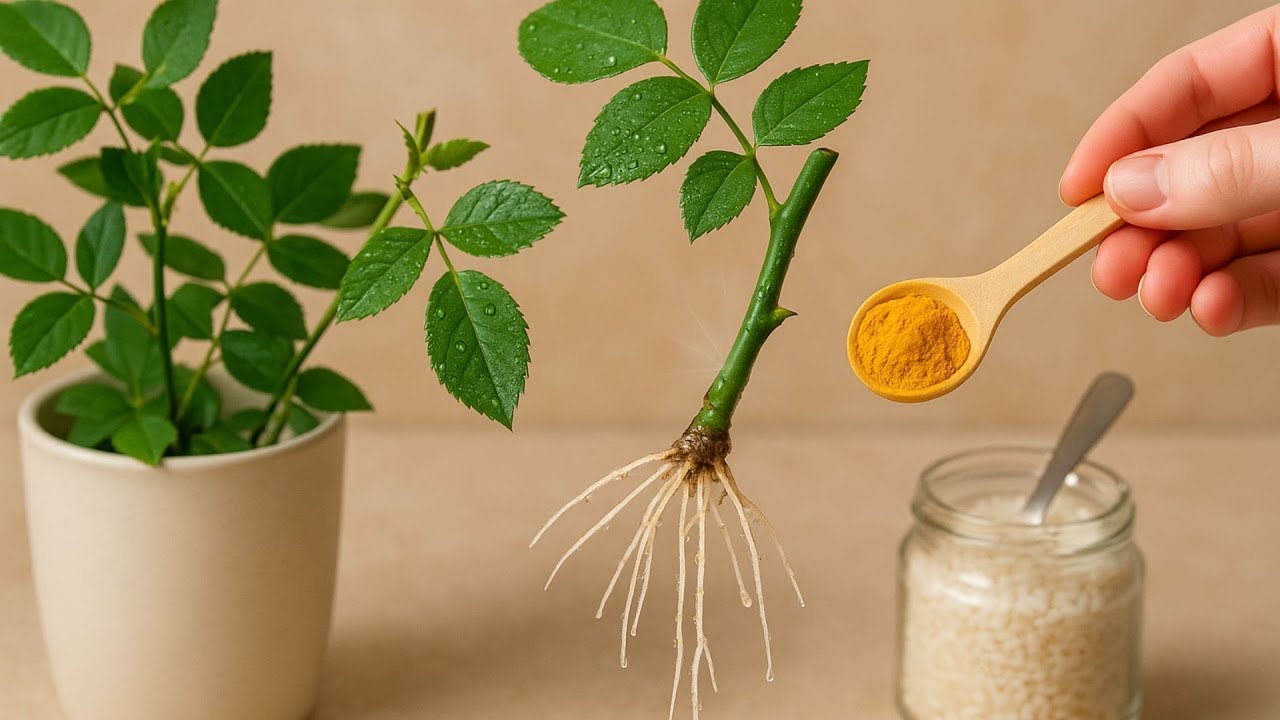
- Optional – Dip in Hormone: Consider dipping the cut end of the stem in rooting hormone. This can help stimulate root growth.
Tips for Success
- Always use clean tools to prevent the spread of disease.
- Choose cuttings in the spring when the plant is actively growing.
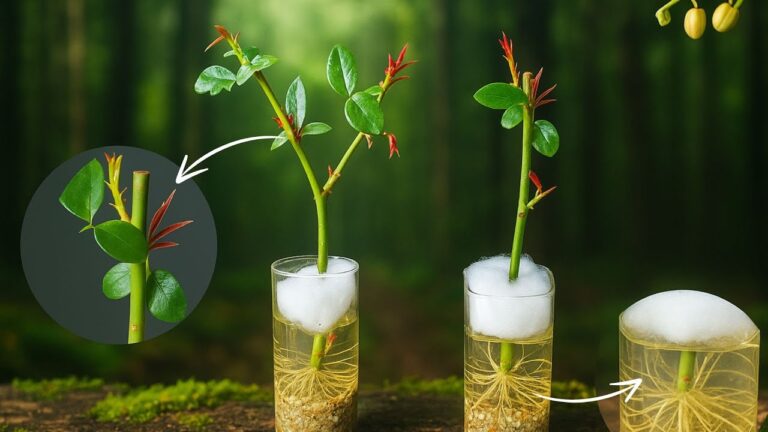
The Ideal Environment for Rooting
Your garlic rose cuttings will need a nurturing environment to develop roots effectively. Here’s what to create:
- Use a Suitable Container: Plant your cuttings in small pots filled with a well-draining potting mix. Seedling trays or recycled containers with drainage holes work well.
- Maintain Moisture: Water the soil before planting your cuttings. After planting, ensure that the soil remains consistently moist but not soggy.
- Provide Adequate Light: Place the containers in a location that receives indirect sunlight. Too much direct sunlight may cause them to dry out.
Additional Considerations
- Consider using a humidity dome or plastic wrap over the top to retain moisture.
- Check the cuttings regularly for signs of rooting, which can take a few weeks.
Common Mistakes to Avoid
As with any gardening endeavor, avoiding pitfalls can lead to better success. Here are some common mistakes to steer clear of:
- Incorrect Cutting Size: Using too short or too long cuttings can hinder root development.
- Overwatering: It’s easy to think more water is better, but soggy soil can lead to rot.
- Poor Lighting Conditions: Insufficient light can delay or prevent rooting, so ensure your cuttings get enough light without direct rays.
- Ignoring Pests: Keep an eye out for pests that might be attracted to your cuttings, as they can cause damage.
Avoiding Mistakes
Setting reminders for watering and regular assessments of your cuttings can help avoid missteps.
Frequently Asked Questions
How long does it take for garlic rose cuttings to root?
Typically, you can expect to see roots develop in about 3 to 4 weeks under the right conditions.
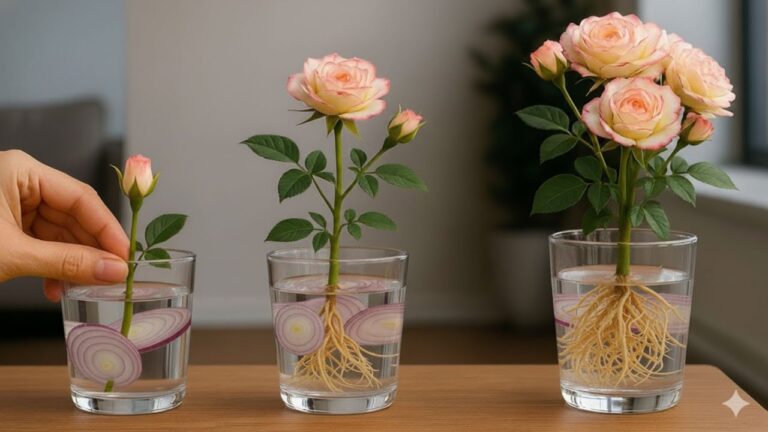
Can I root garlic rose cuttings in water?
Yes, you can root cuttings in water, but transferring them to soil once roots appear is essential for healthy growth.
What is the best time of year to take cuttings?
Late spring and early summer are ideal times for taking cuttings, as the plant is actively growing.
Conclusion
Rooting your garlic rose cuttings can be a fulfilling way to add beauty to your garden. By preparing adequately and creating the right environment, your cuttings can flourish. What tips or experiences do you have with propagating plants? Share your thoughts in the comments!