6 Easy Steps for Simple Rose Propagation That Will Surprise You!
6 Simple Steps for Easy Rose Propagation
Introduction
Have you ever admired a friend’s beautiful rose garden and wished you could recreate that beauty in your own yard? The process may seem daunting, but with the right approach, you can create stunning rose plants from those you already adore. This guide will help you navigate through the uncomplicated process of rose propagation that anyone can master. Keep reading to uncover how you can cultivate your own roses from cuttings.
Required Materials
Before you begin, it’s essential to gather everything you need. Having the right materials on hand will make the entire process smoother.
- Healthy rose cuttings from established plants
- Potting soil that is light and well-draining
- Containers or pots for planting
- A sharp knife or pruning shears for clean cuts
- Plastic wrap or a plastic bag to maintain humidity
Step-by-Step Guide
Now that you have your materials ready, let’s go through the simple steps to propagate your roses successfully.
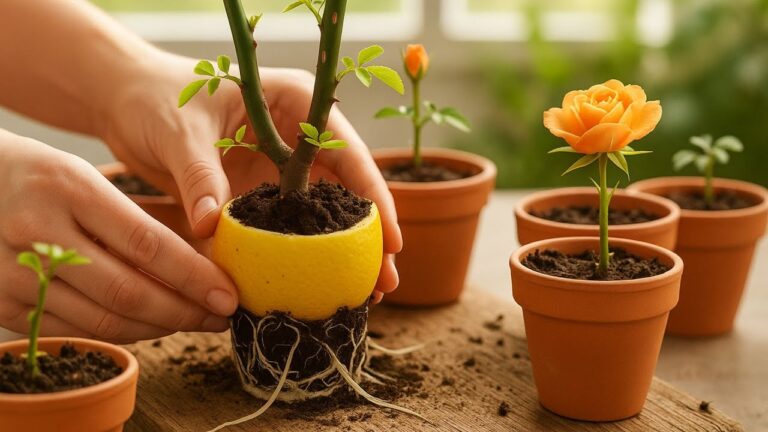
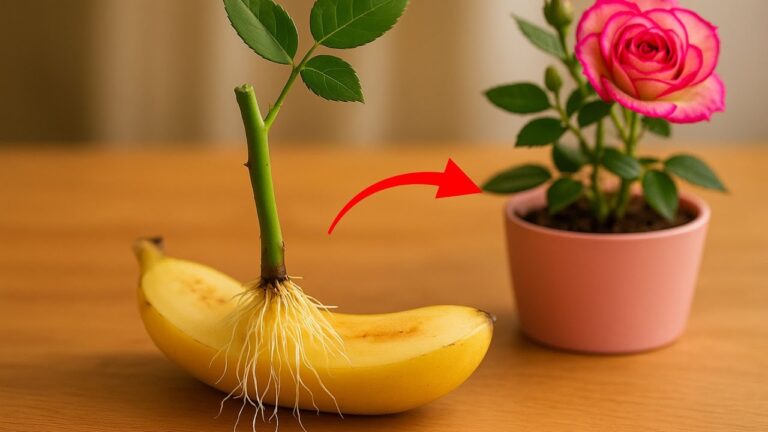
1. Select and Prepare Cuttings
- Choose a healthy rose plant and select a stem that is about 6-8 inches long.
- Make a clean cut just below a node using your sharp knife or pruning shears.
- Remove the lower leaves, leaving only a few leaves at the top to help the cutting conserve moisture.
2. Prepare the Soil and Containers
While preparing the soil, ensure it is free of weeds and debris. Using pots with drainage holes will help prevent water accumulation.
- Fill the containers with your potting soil, leaving a little space at the top.
- Moisten the soil lightly, ensuring it is damp but not soggy.
3. Plant the Cuttings
- Using your finger or a pencil, create a small hole in the soil for the cutting.
- Insert the cutting about 2-3 inches deep and gently pack the soil around it to secure it.
4. Maintain Humidity
Humidity is crucial for your cuttings’ survival. A simple method to ensure this is:
- Cover the container with plastic wrap or a plastic bag, creating a mini greenhouse effect.
- Make sure to poke a few small holes in the plastic to allow airflow.
5. Monitor and Water
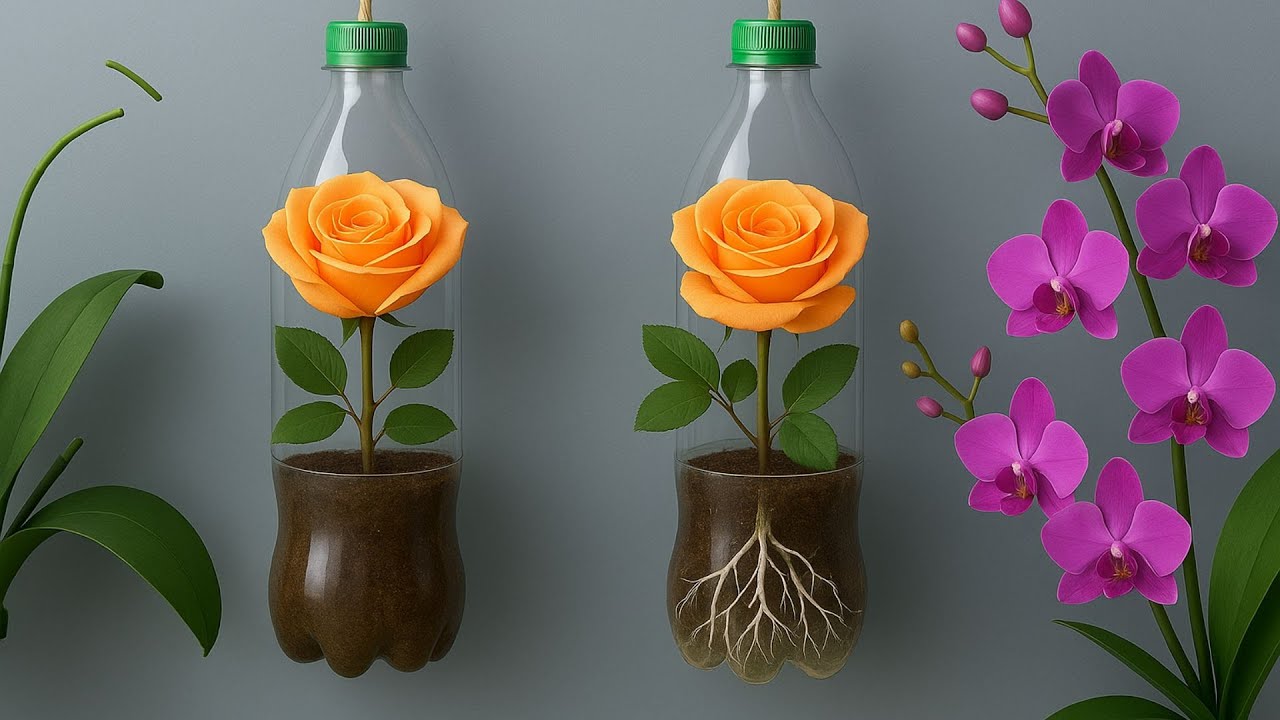
Place your pots in a bright, indirect light location. Monitor the moisture level to keep the soil lightly moist without flooding it. After a few weeks, check for root development.
Common Mistakes to Avoid
Even the simplest process can have pitfalls. Here are some common mistakes to watch out for while propagating roses.
- Using diseased plants: Ensure the parent plant is healthy.
- Overwatering: Too much water can rot the cuttings.
- Insufficient light: Avoid placing cuttings in direct sunlight initially.
- Ignoring root development: Be patient; roots can take several weeks to form.
FAQ
How long does it take for rose cuttings to root? It usually takes about 4 to 6 weeks for rose cuttings to develop roots, depending on the conditions.
Can I propagate roses in water? While it’s possible, propagating in soil tends to yield better results as it supports stronger root development.
What type of rose is best for propagation? Most roses can be propagated, but hybrid teas and floribundas are popular choices due to their hardiness.
Conclusion
Propagating roses can be a rewarding experience, transforming your garden into a blooming paradise. By avoiding common mistakes and following these straightforward steps, you’ll be on your way to growing beautiful roses. What varieties of roses are you excited to propagate in your garden?