10 Simple Steps to Easily Propagate Roses at Home
10 Simple Steps for Easy Rose Propagation at Home
Introduction
Picture this: you walk through your garden, admiring your beautiful rose bushes, and wish you could have more of those gorgeous blooms. Perhaps you’ve thought about expanding your garden or sharing your favorite varieties with a friend. The idea of propagating roses at home excites you, but you may not know where to start. The good news is that it’s simpler than you might think. Let’s explore how you can easily replicate your favorite roses right in the comfort of your garden.
Required Materials
Gathering the right materials is the first step in successfully propagating roses. Here’s what you’ll need:
- Healthy rose cuttings from an existing plant
- Sharp pruning shears or scissors
- Pots or containers with drainage holes
- Rooting hormone (optional)
- Potting soil or a mix of sand and compost
Preparing Your Workspace
To make the process easier, you should set up a clean workspace. Ensure your tools are sterilized to avoid contaminating your cuttings. This simple step can significantly improve the chances of successful propagation.
Choosing the Right Time
The best time for rose propagation varies by climate, but generally, late spring or early summer is ideal. During this time, rose cuttings are more likely to root successfully due to favorable weather conditions.
Easy Techniques for Propagation
There are several methods to propagate roses effectively. Here are a few popular techniques you can try:
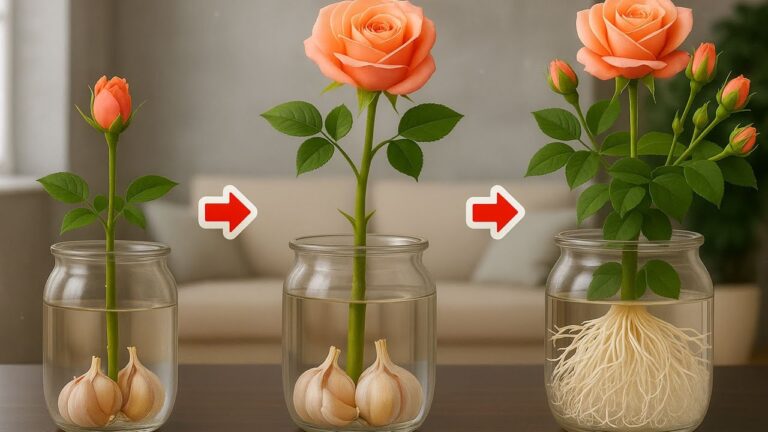
1. Stem Cuttings
- Choose a healthy stem that is about 6-8 inches long and has several nodes.
- Cut below a node at a 45-degree angle using your sharp shears.
- Remove leaves from the lower half of the cutting, leaving at least a couple of leaves at the top.
- If you have rooting hormone, dipped the cut end into it.
- Plant the cutting in moist potting soil, ensuring the node is buried.
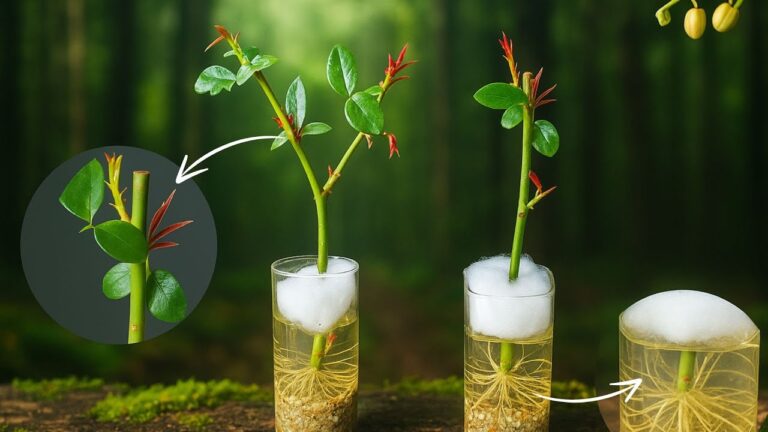
2. Air Layering
- Choose a branch on the rose bush that is flexible and healthy.
- Make a small upward cut about one-third of the way through the branch.
- Wrap the cut area with moist sphagnum moss and cover it with plastic.
- Secure the plastic with string or twist ties to keep moisture in.
- After roots form (usually in a month or so), cut below the layered section and plant it in soil.
Common Mistakes to Avoid
Even the best of plans can go awry. Here are some common pitfalls to watch out for while propagating your roses:
- Using cuttings that are too woody—it’s advisable to select softer green stems.
- Planting cuttings too deeply can hinder rooting; the node should be just beneath the soil surface.
- Overwatering your cuttings; keep the soil moist but not soggy.
- Neglecting to cover the cuttings to maintain humidity can slow the rooting process.
FAQ
What is the best way to propagate roses? The most effective methods include stem cuttings and air layering. Each technique has its own advantages and may suit different types of roses.
How long does it take for rose cuttings to root? Typically, rose cuttings will root within 2 to 4 weeks if conditions are right, such as proper moisture and warmth.
Can I propagate roses in water? While it’s possible, it’s generally more effective to use soil as medium for better root development.
Conclusion
By following these straightforward techniques on propagating roses, you can easily cultivate your favorite varieties at home. Have you tried propagating roses before? Share your experiences and tips below!