Discover 1 Amazing Spoon Trick to Root Roses Like Magic!
How to Root Roses Using a Simple Spoon Method
- Introduction
- Benefits of Rooting Roses
- Required Materials
- Step-by-Step Guide to Root Roses
- Common Mistakes to Avoid
- FAQs
- Conclusion
Introduction
If you’ve ever had a beloved rose bush that you wanted to expand, you may have hesitated, wondering how to propagate it effectively. Traditional methods often seem complicated or time-consuming. However, there’s a simple technique that makes the process surprisingly easier. By utilizing a spoon, you can encourage healthy root growth in your rose cuttings. Keep reading to learn more about this clever method and how you can achieve beautiful new plants.
Benefits of Rooting Roses
Rooting roses using a spoon has several advantages:
- Easy to Follow: This method simplifies the rooting process, making it accessible for beginners.
- Cost-Effective: You probably already have the materials at home, reducing the need for expensive root hormone products.
- Healthy Plants: Cuttings from healthy plants can produce robust and vibrant new roses for your garden.
Required Materials
To get started with the spoon method for rooting roses, you will need:
- Garden shears to cut your rose stems.
- A clean spoon that will help support the cuttings.
- A small pot filled with nutrient-rich potting mix.
- Water for keeping the cuttings moist.
Step-by-Step Guide to Root Roses
Now let’s delve into the detailed process of using a spoon to root your rose cuttings:
1. Choosing the Right Cuttings
- Select healthy stems from the parent rose plant. Look for semi-hardwood stems that are about 6 inches long.
- Ensure each cutting has at least 2-3 leaf nodes.
2. Preparing the Cuttings
- Using garden shears, cut each stem at a 45-degree angle, just below a node. This angle helps with water uptake.
- Remove the lower leaves to prevent rot when you place the cutting in the soil.
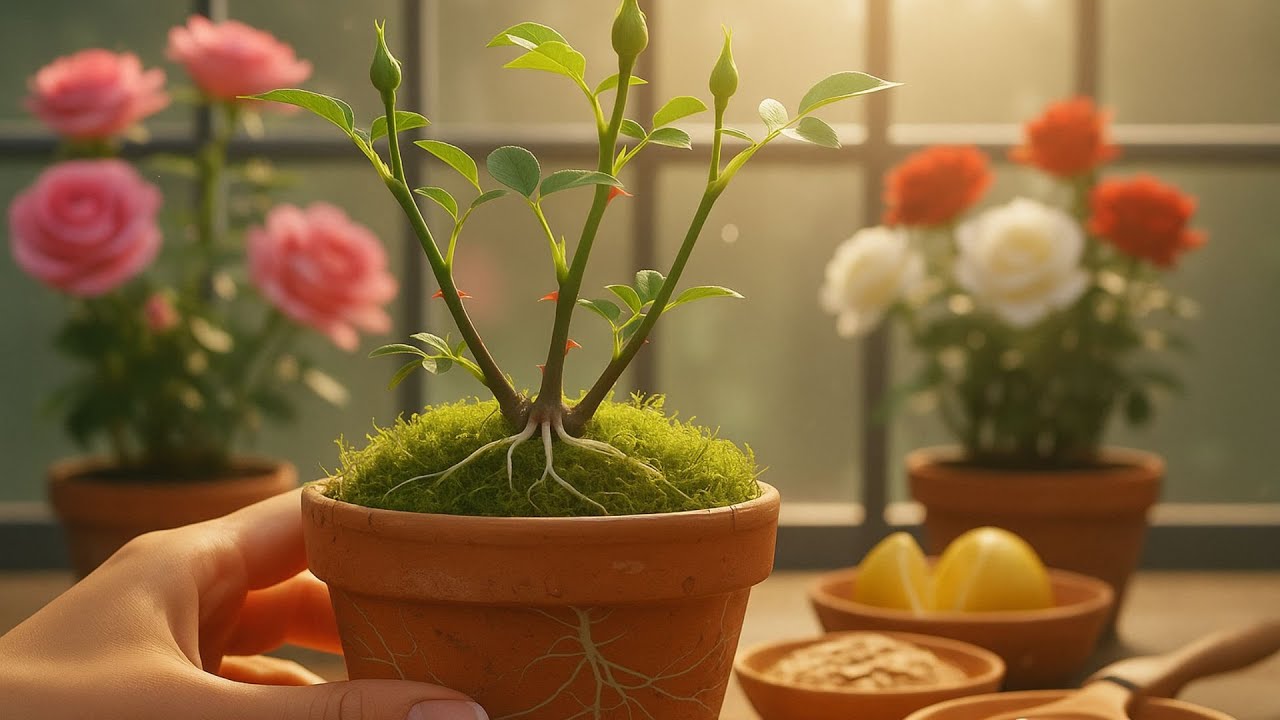
3. Using the Spoon Method
- Take your clean spoon and nestle the cutting into the soil in the pot. The spoon will help support the cutting and keep it upright.
- Cover the base of the cutting with soil, making sure that the node is buried.
4. Watering and Care
- Once planted, water the cutting lightly. The soil should be moist but not soaking.
- Cover the pot with a clear plastic bag or a plastic dome to create a humid environment, which encourages rooting.
5. Monitoring Growth
- Place the pot in a warm, bright location but out of direct sunlight.
- Check regularly for moisture and remove the cover occasionally to prevent mold.
- After a few weeks, you should see roots developing. Tug gently on the cutting to feel for resistance.
Common Mistakes to Avoid
When rooting roses using the spoon method, here are some common mistakes to steer clear of:
- Planting cuttings that are too young or weak can lead to poor rooting.
- Overwatering the cuttings often leads to rot. Always check the moisture level.
- Placing cuttings in direct sunlight can scorch them. It’s best to keep them in indirect light.
- Neglecting to use a clean spoon can introduce bacteria, hindering growth.
FAQs
What type of roses are best for rooting? Hybrid tea roses and floribunda roses provide strong cuttings that root well.
How long does it take for rose cuttings to root? Typically, it takes about 4 to 6 weeks for rose cuttings to develop roots.
Can I root roses in water instead of soil? Yes, some people successfully root roses in water, though soil is often better for nutrient uptake.
Conclusion
Rooting roses with a spoon is a straightforward and effective method to expand your garden with beautiful blooms. By following these steps and being aware of common pitfalls, you can cultivate strong new plants. Have you tried propagating roses before? Share your experiences in the comments below!