
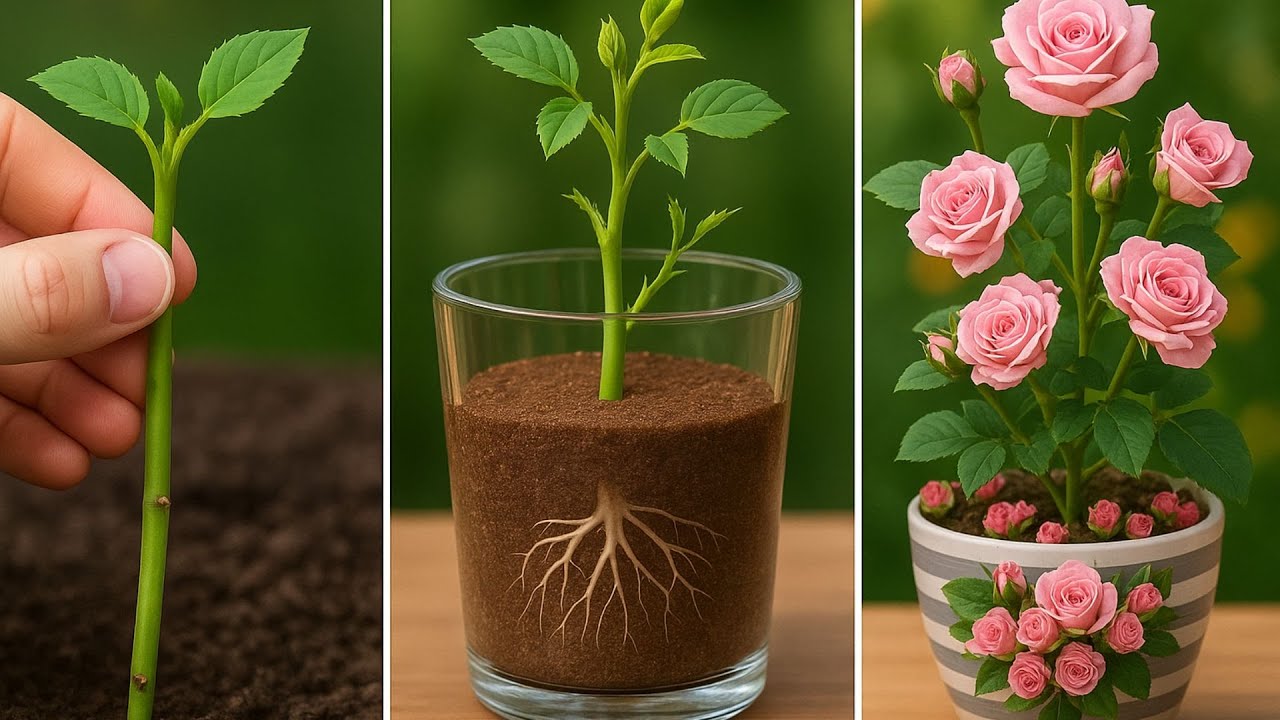
Discover 5 Easy Steps for Simple Rose Propagation You’ll Love!
Discover 5 Easy Steps for Simple Rose Propagation You’ll Love
- Introduction
- Understanding Rose Propagation
- Materials You Will Need
- Step-by-Step Instructions
- Common Mistakes to Avoid
- FAQ
- Conclusion
Introduction
Picture this: a sunny afternoon in your garden, where you admire the beauty of your blooming roses. You might wonder how you can easily multiply these stunning flowers without spending a fortune. The good news is, rose propagation is a straightforward process that allows you to enhance your garden while embracing a sustainable approach to gardening. Keep reading to discover how you can cultivate new roses from your beloved plants.
Understanding Rose Propagation
Rose propagation is the process of creating new rose plants from existing ones. This technique not only expands your flower collection but also fosters a deeper connection with your garden. There are several methods of propagation, including:
- Cuttings: This is the most common method, where a section of a stem is cut and encouraged to root.
- Layering: Involves bending a stem to touch the soil, stimulating roots while still attached to the mother plant.
- Grafting: A more advanced technique where a stem from one rose is joined to the root of another.
For simplicity, we’ll be focusing on the cutting method, which is manageable for beginners and very rewarding.
Materials You Will Need
Before you begin the propagation process, gather the following materials:
- Pruning shears: A sharp pair of shears ensures clean cuts.
- Clean containers: Use pots or trays with drainage holes for the cuttings.
- Potting mix: A well-draining mix is essential for healthy root development.
- Clear plastic bag or plastic wrap: This will help maintain humidity around the cuttings.
- Water: To keep the soil moist and help the cuttings establish.
Step-by-Step Instructions
Now that you have your materials ready, follow these five easy steps to propagate your roses:
- Choose a healthy stem: Select a robust stem from your existing rose plant, ideally one that has some blooms or buds.
- Cut the stem: Make a diagonal cut below a leaf node, aiming for a cutting that is approximately 6 inches long.
- Remove excess leaves: Trim the leaves on the lower half of the cutting to prevent them from rotting in the soil.
- Plant the cutting: Place the cutting into the prepared potting mix, burying it about 2 inches deep. Firm the soil around it.
- Cover with plastic: Use the plastic bag or wrap to create a mini greenhouse effect, which helps retain moisture. Place the pot in a bright, indirect light location.
Check the soil regularly and keep it moist. After a few weeks, you should notice new growth indicating successful propagation.
Common Mistakes to Avoid
While propagating roses is a fulfilling endeavor, there are common pitfalls to be aware of:
- Not using clean tools: Ensure your pruning shears are sterilized to prevent disease transmission.
- Choosing the wrong type of cutting: Make sure to take cuttings from healthy, vigorous plants.
- Overwatering: Too much moisture can lead to rot; keep the soil moist but not soggy.
- Neglecting sunlight: Cuttings need indirect light for healthy growth; avoid placing them in direct sunlight.
- Giving up too soon: Patience is key; it may take a few weeks for the cutting to root.
FAQ
Can I propagate roses in water? Yes, you can place rose cuttings in water, but they tend to root better in soil.
How long does it take for rose cuttings to root? Typically, it takes about 3 to 6 weeks for rose cuttings to develop roots.
What season is best for propagating roses? Late spring to early summer is ideal for taking cuttings, as this is when roses are actively growing.
Conclusion
Rose propagation is a satisfying way to expand your garden, and with these simple steps, you’re well on your way to cultivating new blooms. Have you tried propagating roses before, or are you planning to give it a go? Your experience could provide valuable insight for others!