Grow 5 Easy Steps to Harvest Fresh Ginger at Home Today!
Harvest Fresh Ginger at Home: A 5-Step Guide
Introduction
Have you ever thought about growing your own ginger? Perhaps you’ve enjoyed cooking with this aromatic root and wondered what it would be like to harvest it fresh from your own garden. While it might seem daunting, growing ginger is more straightforward than you might expect. In this guide, you’ll learn how to cultivate ginger in a few simple steps, bringing a burst of flavor to your kitchen straight from your backyard. Let’s explore how to get started!
Required Materials
Before diving into the planting process, it’s essential to gather the necessary materials to ensure the success of your ginger garden.
- Fresh ginger rhizomes
- Potting soil or well-draining garden soil
- A spacious pot (with drainage holes) or a garden bed
- Watering can or spray bottle
- Plastic wrap or a clear plastic bag (for the germination phase)
Step-by-Step Guide
Now that you have your materials, follow this straightforward guide to start growing your ginger:
1. Preparing the Ginger Rhizome
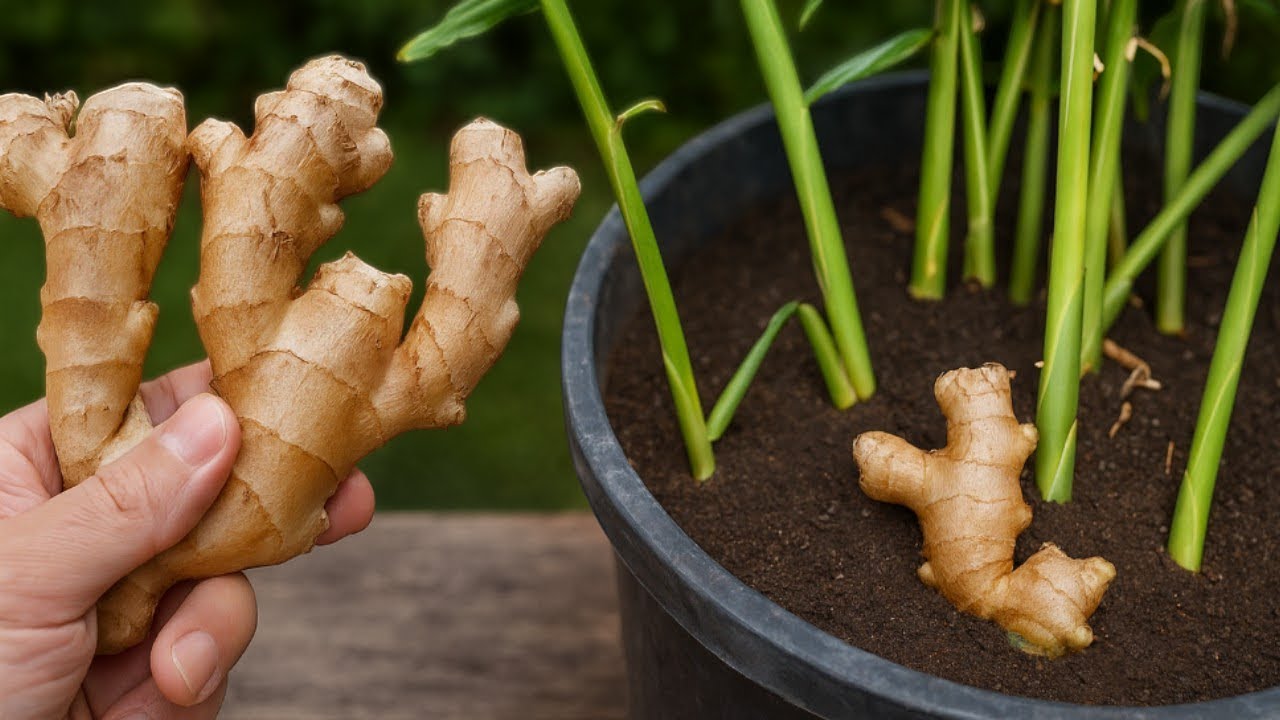
- Select a healthy piece of ginger with visible buds, often referred to as “eyes.” This is crucial for successful growth.
- Cut the rhizome into sections, ensuring each piece has at least one eye.
- Let the cut pieces dry for a day or two to form a protective callus, which can help prevent rot.
2. Choosing Your Planting Location
Ginger thrives in warm environments, so choose a spot that captures plenty of indirect sunlight.
- If planting indoors, place your pot near a sunny window.
- If planting outdoors, ensure your garden bed receives partial shade during the hottest part of the day.
3. Planting the Ginger
- Fill your pot with potting soil, leaving a few inches of space at the top.
- Plant the ginger pieces about 2-4 inches deep, with the buds facing upward.
- Water lightly, ensuring the soil is moist but not soggy.
4. Caring for Your Ginger Plants
To promote healthy growth, follow these care tips:
- Water your ginger regularly, allowing the top inch of soil to dry out between waterings.
- Fertilize every few weeks with a balanced organic fertilizer to provide essential nutrients.
- Cover the plant with plastic wrap to maintain humidity during the germination phase, until you see sprouts.
5. Harvesting Your Ginger
After about 8-10 months of growth, your ginger will be ready to harvest.
- Examine the plant; when the leaves start to yellow and die back, it’s time to harvest.
- Carefully dig around the plant to extract the rhizomes, taking care not to damage the roots.
- Clean the ginger under running water and allow it to dry before using or storing.
Common Mistakes to Avoid
Growing ginger can be rewarding, but avoiding these common pitfalls will help ensure your success:
- Overwatering: Ginger dislikes sitting in water. Ensure the pot has good drainage.
- Insufficient light: While ginger prefers indirect sunlight, lack of adequate light can stunt growth.
- Neglecting humidity: Ginger thrives in humid conditions, so consider misting the leaves occasionally.
- Rushing the harvest: Wait for at least 8 months before harvesting to ensure the roots develop fully.
FAQ
Q: How long does it take for ginger to grow?
A: Ginger typically takes about 8-10 months to grow before it’s ready for harvest.
Q: Can I grow ginger indoors?
A: Yes, ginger can be successfully grown indoors in a pot with sufficient sunlight.
Q: How should I store fresh ginger?
A: Store fresh ginger in the refrigerator in a paper bag or a breathable container to prolong freshness.
Conclusion
Growing your own ginger can enhance your culinary experiences and provide fresh ingredients right from your garden. By following these steps and avoiding common mistakes, you can enjoy a bountiful harvest. What dishes do you plan to make with your homegrown ginger? Share your thoughts in the comments!