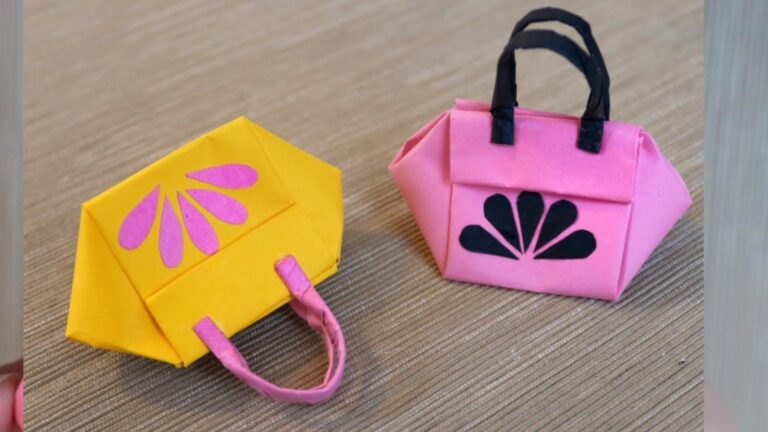
This simple DIY trick transforms everyday items into stunning storage baskets…
This Simple DIY Trick Transforms Everyday Items into Stunning Storage Baskets
Redefine Your Storage Solutions
Are you looking for a creative and eco-friendly way to organize your space? This simple DIY trick using everyday items can turn clutter into charm! By repurposing a few ordinary materials, you can craft beautiful storage baskets that not only tidy up your home but also add a personal touch to your decor.
The Materials You’ll Need
Gather the following items before you start:
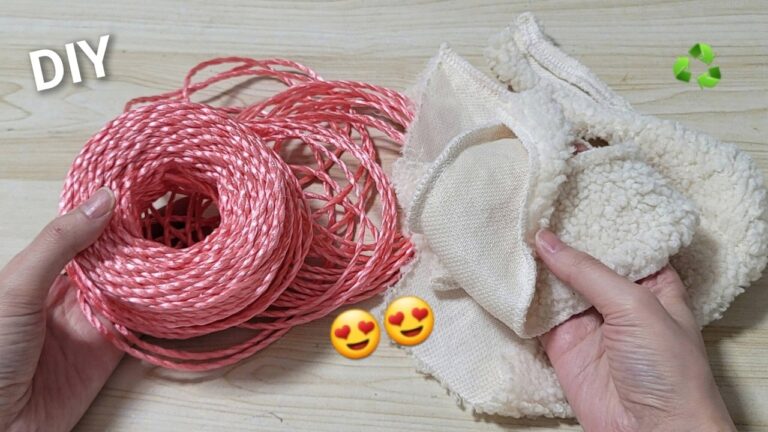
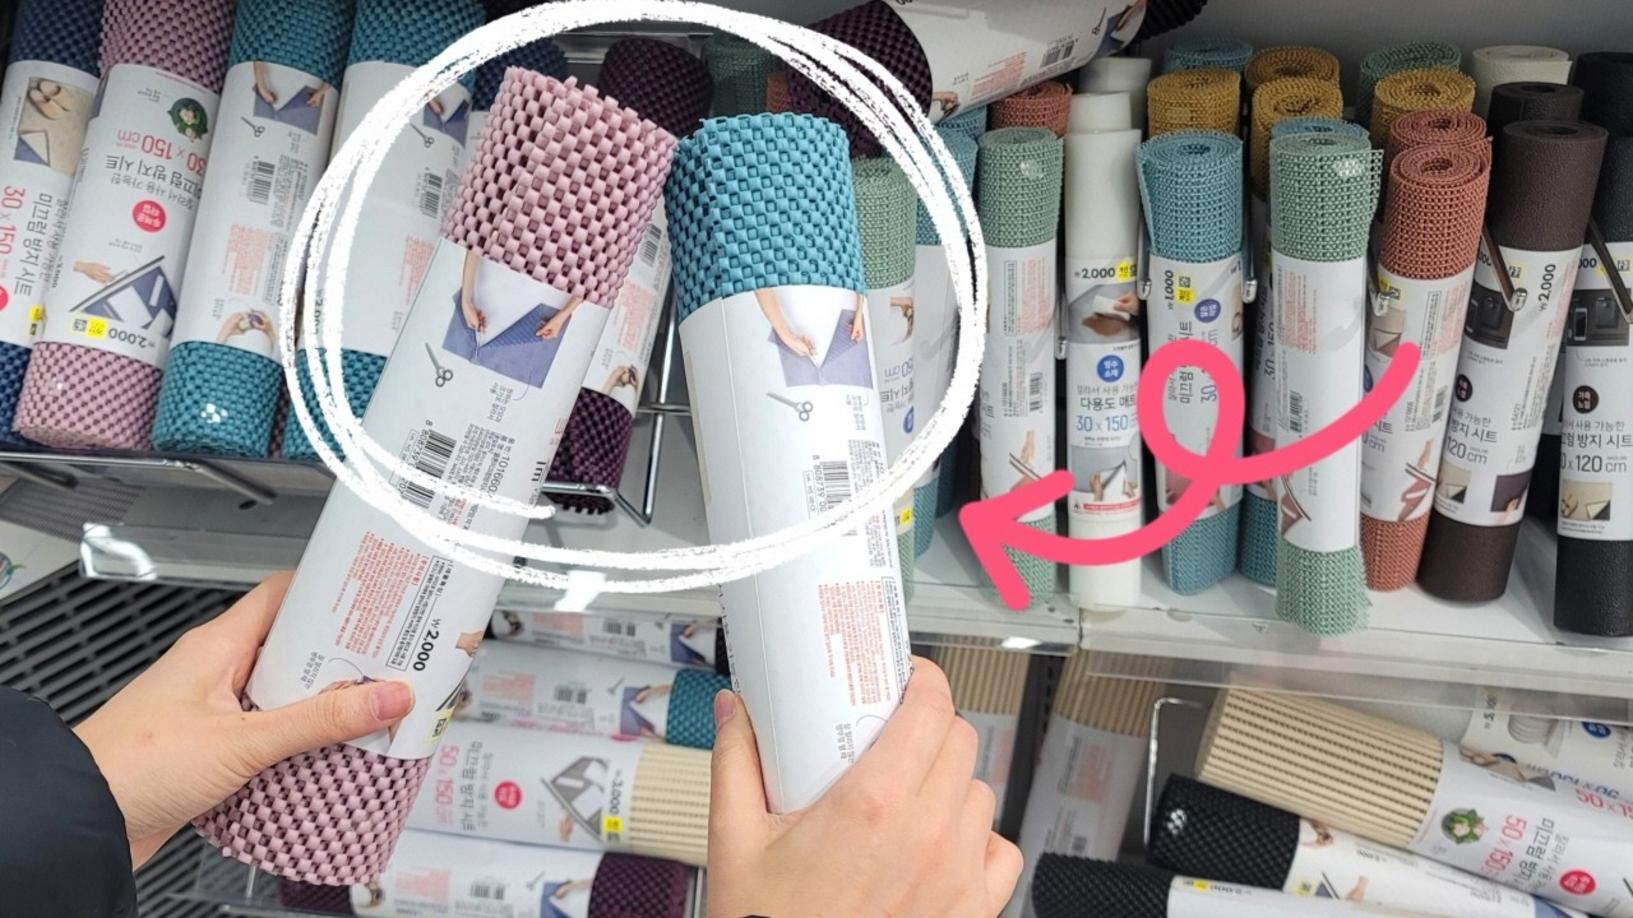
- Bathroom mat
- Toilet paper roll
- Plastic cup
- Cardboard
- Lace string
- Glue gun
Step-by-Step Instructions
Step 1: Prepare the Base
Start by cutting the bathroom mat to your desired size. This will serve as the outer layer of your basket. Make sure the edges are smooth to avoid any fraying.
Step 2: Create Structure
Use the toilet paper roll as the central support for your basket. Cut it to your preferred height and secure it to a round piece of cardboard, which acts as the base.
Step 3: Assemble the Basket
Wrap the bathroom mat around the toilet paper roll, using the glue gun to secure it in place. Make sure it’s tightly wrapped for stability.
Step 4: Add Some Flair
Take the plastic cup and cut it into desired shapes – perhaps to create a unique border or handle. Glue these pieces around the top edge for a fun touch.
Step 5: Finishing Touches
Use the lace string to wrap around the basket, adding a decorative element. Tie it in a bow for an extra charming effect!
Practical Tips Based on Experience
- Choose a cohesive color scheme: This will enhance the visual appeal of your basket.
- Be generous with glue: It helps in securing the materials firmly.
- Get creative: Let your personality shine through with different patterns and textures!
Common Mistakes to Avoid
Many DIY enthusiasts often overlook the importance of a sturdy base. Ensure your cardboard base is thick enough to hold weight. Additionally, don’t rush the glue-drying process; giving it time will ensure your basket is durable and long-lasting.
Conclusion: Start Crafting Today!
Now that you have a step-by-step guide, it’s time to roll up your sleeves and get crafty! Transforming everyday items into stylish storage baskets not only helps declutter your space but also enhances your creativity. Don’t forget to share your results and inspire others!
For more DIY ideas and crafts, subscribe to our channel! Join us at Merry Life Happy and let’s make crafting fun together!