This simple technique replaces your broken water lock—it’s easier than you think…
This Simple Technique Replaces Your Broken Water Lock—It’s Easier Than You Think…
Understanding the Basics of Water Locks
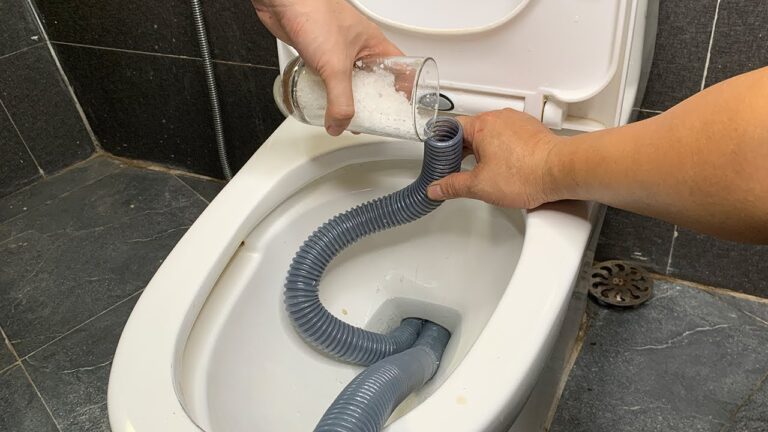
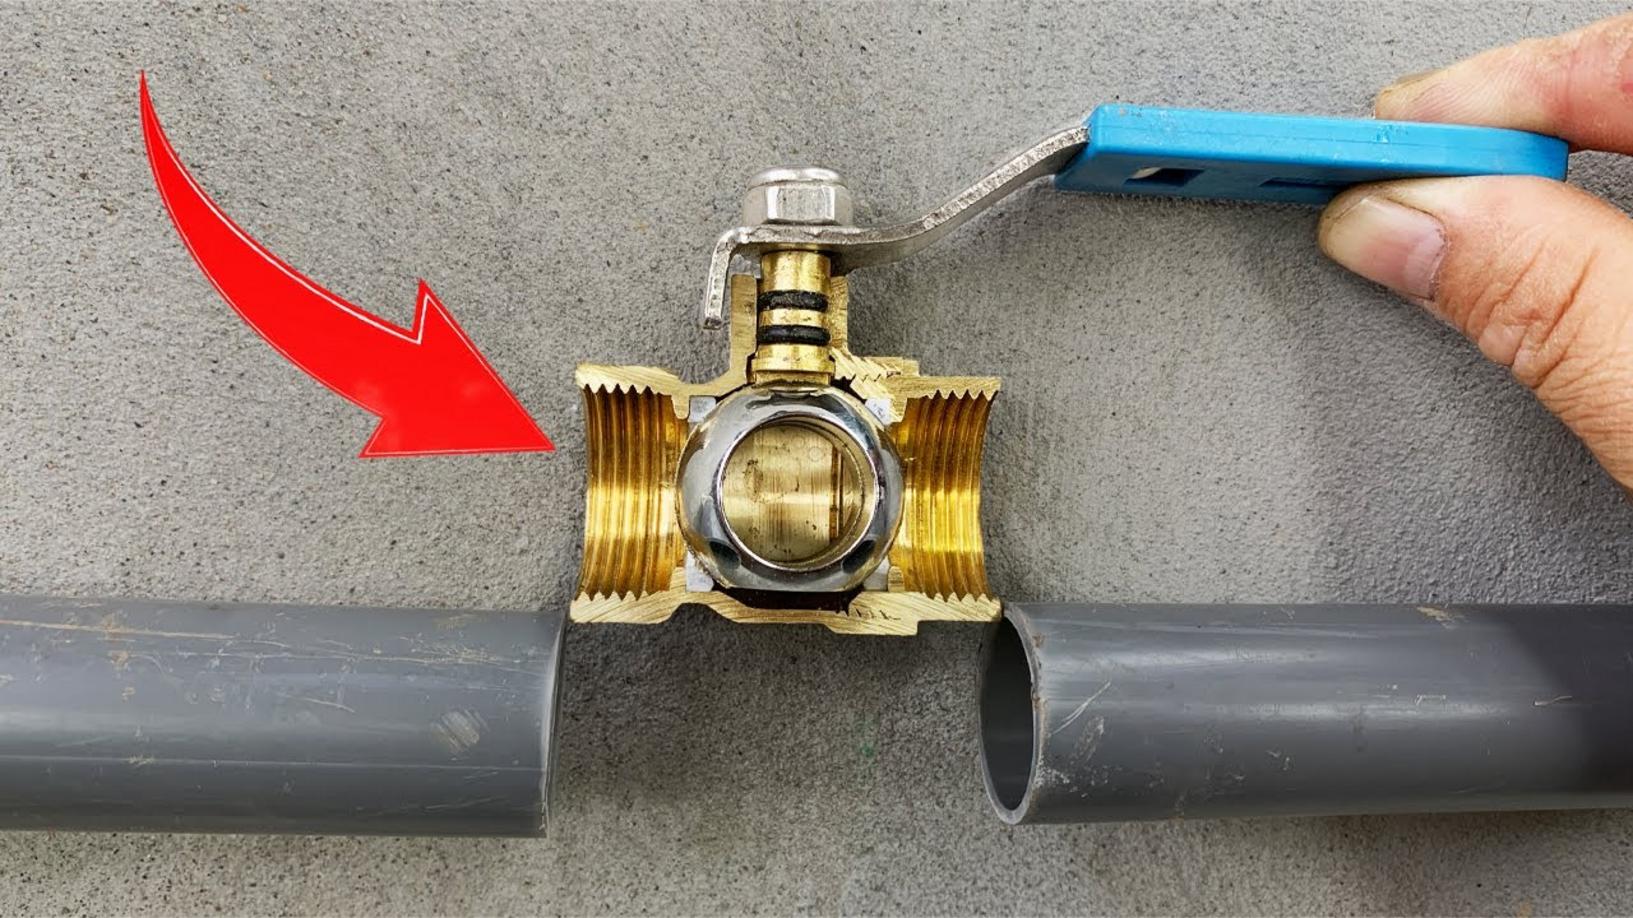
If you’ve ever faced a **broken water lock**, you know how frustrating it can be. Water locks come with **two threaded ends** and are essential for controlling your home’s water supply. When your water lock fails, know that replacing it is simpler than you might think. Let’s explore the steps together!
Step-by-Step Guide to Replacing Your Metal Water Lock
1. Gather Your Tools
Before starting, you’ll need a few basic tools:
- Adjustable wrench
- Pipe tape
- Bucket (to catch any residual water)
- Replacement water lock
2. Turn Off the Water Supply
Locate the main water valve and turn it off. Ensure there’s no water flow by turning on a faucet. This step is crucial to prevent unwanted flooding.
3. Remove the Old Water Lock
Using your adjustable wrench, carefully unscrew the **old metal water lock** from both ends. If it’s stubborn, a little muscle might be needed! Make sure to catch any residual water in your bucket.
4. Prepare the New Water Lock
Before attaching the new water lock, wrap **pipe tape** around the threads of the new lock. This will help ensure a watertight seal.
5. Install the New Water Lock
Screw the new water lock into place, ensuring it’s tight but not over-tightened. A snug fit is all you need!
6. Turn the Water Supply Back On
Once the new lock is installed, slowly turn the main water valve back on. Check for leaks at the connection points. If everything looks good, you’re done!
Practical Tips Based on Experience
- Always keep a **bucket handy** when working with plumbing to manage water spills.
- If your old lock is stubborn, try applying a bit of penetrating oil to loosen it up.
- Don’t rush! Take your time to ensure each step is done correctly.
Common Mistakes to Avoid
- **Skipping the pipe tape**—this can lead to leaks.
- Over-tightening the connections may cause **damage** to the threads.
- Forgetting to check the **water supply valve** before starting, leading to unintentional flooding.
Motivating Conclusion
Replacing a **broken water lock** doesn’t have to be a daunting task. With the right tools and guidance, you can tackle this DIY project confidently. Embrace your inner handyman and start the process today! If you enjoyed this article and found it helpful, subscribe for more practical DIY tips and tricks. Let’s keep our homes functional together!