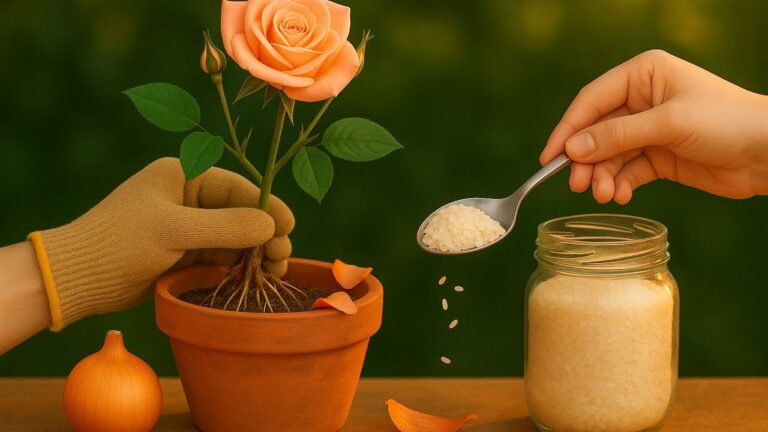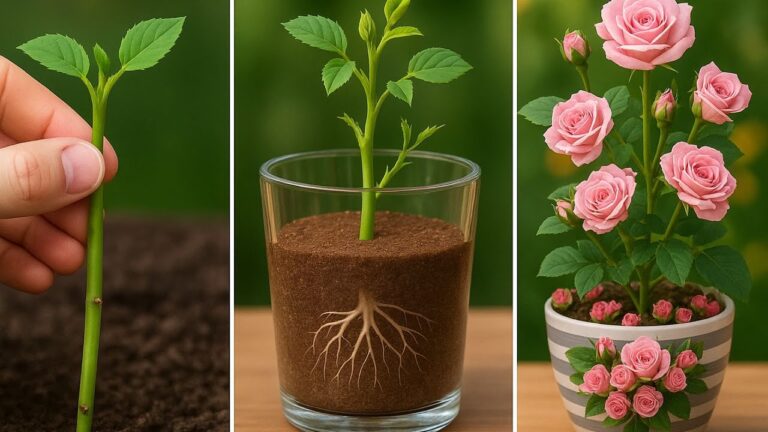

5 Easy Steps to Propagate Roses Like a Pro and Enjoy Beautiful Blooms
5 Easy Steps to Propagate Roses Like a Pro
Introduction
Seeing your neighbor’s garden burst with vibrant roses while your own garden feels lackluster can be a disheartening experience. You may find yourself longing for the rich colors and sweet fragrance that those blossoms bring to outdoor spaces. However, you don’t need to settle for less. Instead, consider propagating your own roses to enjoy beautiful blooms right at home. This guide will walk you through simple steps to get started.
Required Materials
Before you begin propagating roses, gather the necessary materials to ensure a smooth process. Having everything at hand will help you stay organized and focused.
- Healthy rose stems: Choose stems that are 6 to 8 inches long, ideally from a current season’s growth.
- Sharp scissors or pruning shears: A clean cut helps prevent disease and promotes quicker rooting.
- Potting soil: A well-draining potting mix is crucial for new plants.
- Small pots or trays: These will hold your cuttings as they begin to root.
- Plastic bags: Using these can create a humid environment that encourages growth.
Propagation Steps
Now that you have your materials ready, let’s dive into the steps for propagating roses successfully.
Step 1: Prepare the Cuttings
- Select healthy stems and cut them just below a leaf node.
- Remove the lower leaves to reduce moisture loss, leaving just a few at the top.
- Dip the cut ends into rooting hormone to encourage root growth.
Step 2: Plant the Cuttings
- Fill your pots or trays with potting soil.
- Make small holes in the soil and insert the cuttings, ensuring they are firmly placed.
- Water the cuttings lightly to settle the soil around them.
Step 3: Create a Humid Environment
- Cover each pot with a plastic bag to retain humidity.
- Ensure that the bags don’t touch the leaves to prevent rot.
- Place the cuttings in a warm, bright location away from direct sunlight.
Step 4: Monitor and Care for Cuttings
- Check the soil regularly; it should remain moist but not soggy.
- Open the bags occasionally to allow fresh air and prevent mold.
- Wait for about 4-8 weeks for roots to develop before transplanting.
Step 5: Transplanting
- Gently remove the rooted cuttings from their pots.
- Plant them in your garden or larger containers.
- Water them thoroughly and monitor as they adapt to their new environment.
Common Mistakes to Avoid
While propagating roses can be straightforward, especially when following the aforementioned steps, there are some common pitfalls you should steer clear of.
- Using unhealthy cuttings: Always select the healthiest stems to increase your chances of success.
- Overwatering: Ensure your cuttings aren’t sitting in water, which can lead to root rot.
- Neglecting humidity: Failure to provide a humid environment can slow down the rooting process.
- Ignoring light conditions: Too much direct sunlight can damage young cuttings, while too little can hinder growth.
FAQ
What is the best time of year to propagate roses?
Late spring to early summer is generally the best time for propagating roses, as the new growth is more likely to take root.
How long does it take for rose cuttings to root?
It typically takes about 4-8 weeks for rose cuttings to develop roots, depending on the variety and the conditions they are kept in.
Can I propagate roses from store-bought flowers?
Yes, you can try propagating from store-bought roses, but ensure that they are fresh and healthy for the best chance of success.
Conclusion
With just a few steps, you can successfully propagate roses and enjoy beautiful blooms. This rewarding hobby not only enhances your garden but also connects you to nature. What varieties are you excited to try propagating?