7 Tips to Make Your Rose Cuttings Grow Roots and Bloom Faster!
7 Tips for Rooting Rose Cuttings and Encouraging Blooming
- Introduction
- Essential Tips for Rose Cuttings
- Creating the Ideal Environment
- Common Mistakes to Avoid
- FAQ
- Conclusion
Introduction
Have you ever tried propagating roses from cuttings, only to find they wilt or fail to thrive? Many passionate gardeners experience this challenge, feeling disheartened as they watch their efforts go to waste. Understanding the right techniques can significantly improve your success with rooting and blooming roses. Unlocking the secrets to healthy cuttings can enhance your gardening journey, making it both fulfilling and enjoyable. Read on to discover effective tips that can transform your approach to rose propagation.
Essential Tips for Rose Cuttings
Successfully rooting your rose cuttings requires careful consideration and methodical planning. Here are some vital tips to boost your chances:
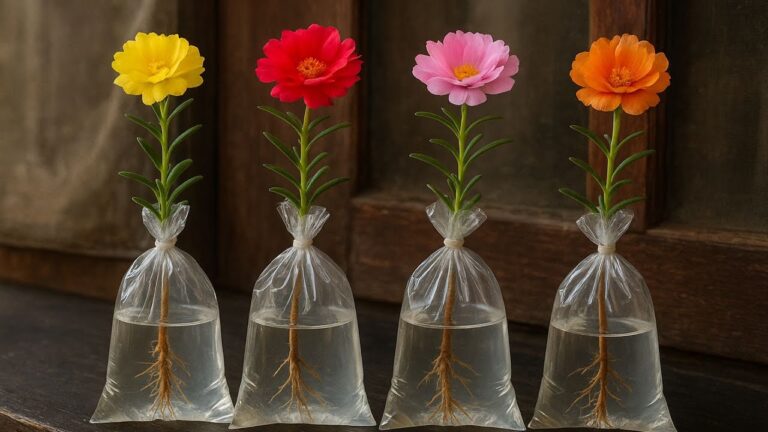
1. Choose the Right Cuttings
Select healthy stems from mature rose bushes, ideally during early summer. Look for:
- Strong stems that are at least 6 inches long
- New growth that is firm but not fully hardened
- Leaves that are healthy and free from disease
2. Use the Right Hormone
Applying rooting hormone can greatly enhance root development. Here are two effective methods:
- Dip the cut end of the rose in rooting hormone powder before planting.
- Alternatively, apply a liquid rooting gel directly onto the cut surface.
3. Properly Prepare Your Cuttings
After making your cut, prepare your stems to maximize chances of rooting:
- Trim the bottom of the cutting at an angle to expose more surface area.
- Remove the lower leaves, keeping only the top two or three leaves.
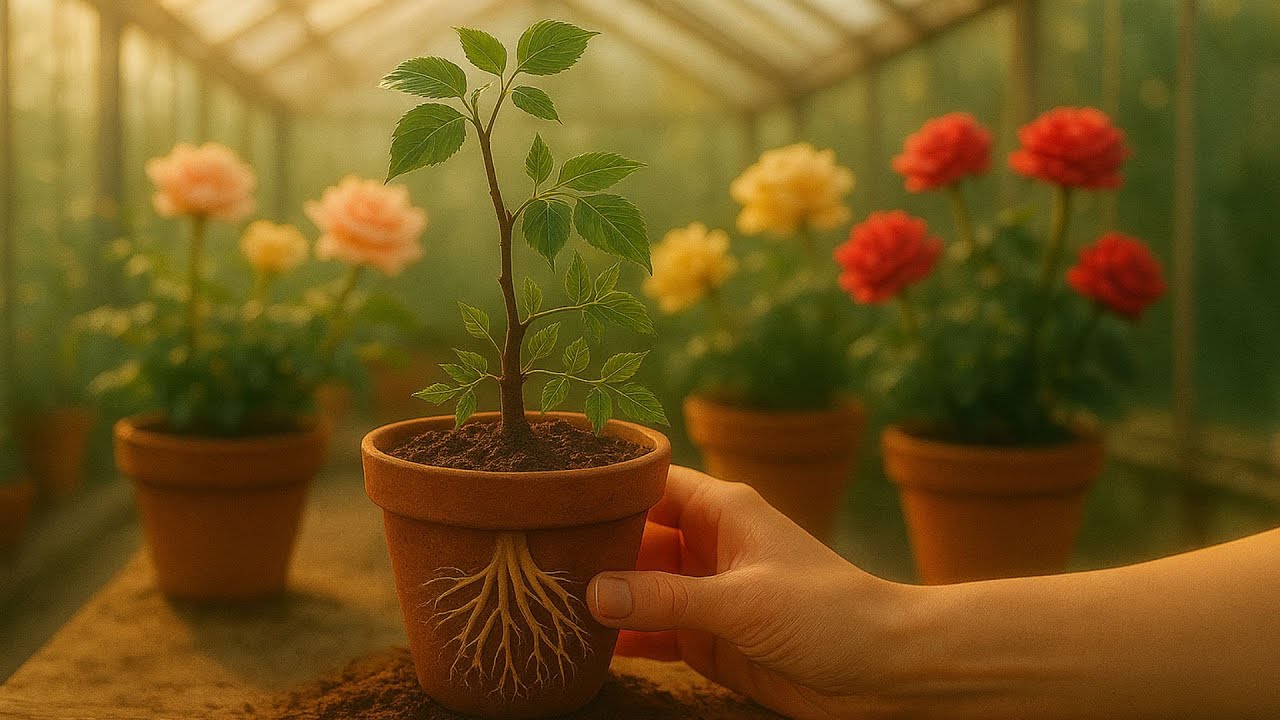
Creating the Ideal Environment
For effective rooting, consider how you can tailor the environment for your cuttings. Here’s how you can do it:
1. Choose the Right Medium
A well-draining medium is essential for healthy root growth. Some excellent options include:
- A mixture of peat moss and perlite
- Coir mixed with sand for drainage
- Traditional potting soil with added vermiculite
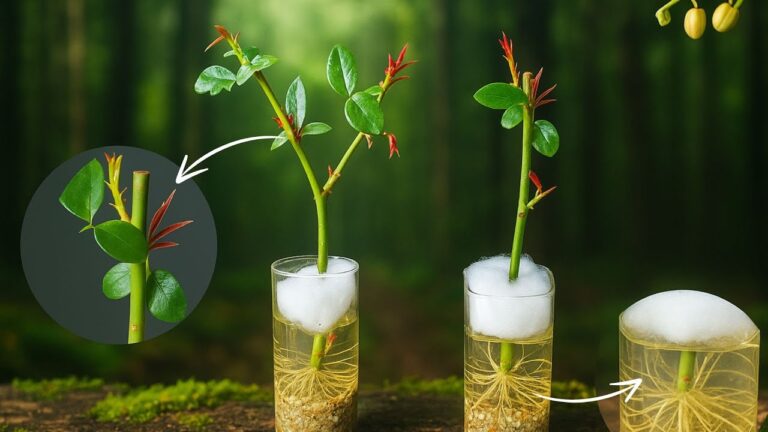
2. Maintain Optimal Humidity
Creating a humid environment encourages rooting. Here are a couple of methods:
- Cover the cuttings with a plastic bag or a clear plastic dome.
- Use a spray bottle to mist the cuttings regularly, maintaining moisture without overwatering.
3. Provide Indirect Light
Roses thrive in light but avoid harsh sunlight during the rooting process. Consider the following:
- Position your cuttings in a bright room with filtered sunlight.
- A south or east-facing window is ideal, preventing direct exposure to severe heat.
Common Mistakes to Avoid
1. Using Diseased or Weak Cuttings
Starting with unhealthy stems can transmit diseases and stunted growth. Always select strong, vibrant cuttings.
2. Overwatering Cuttings
Too much water can cause rot. Ensure your medium is damp but not soggy, allowing for proper drainage.
3. Lack of Patience
Roses can take time to root. Avoid the temptation to rush the process by checking roots too frequently; give your cuttings time to thrive.
FAQ
How long does it take for rose cuttings to root?
Generally, it takes about 3 to 6 weeks for rose cuttings to root, depending on environmental conditions and cutting quality.
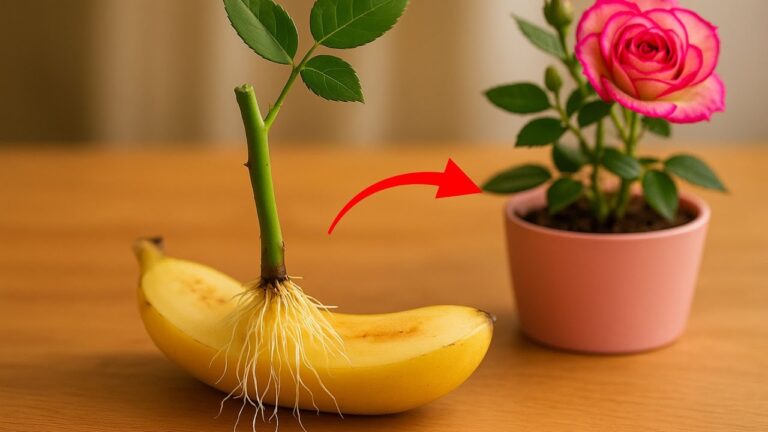
Can I use kitchen scraps for rose cuttings?
While kitchen scraps are great for composting, it’s best to use fresh, green stems from healthy rose plants for optimal results.
What is the best time of year for taking rose cuttings?
The best time to take rose cuttings is in early summer when the plant is actively growing.
Conclusion
By following these tips for rooting rose cuttings and creating the right environment, you’ll be well on your way to promoting healthy growth and beautiful blooms. What challenges have you faced with your rose propagation? Share your experiences in the comments below!