Root Rose Cuttings Without Hormone: 5 Simple Steps for Success
Root Rose Cuttings Without Hormone: A Simple Guide
- Introduction
- Essential Materials
- Step-by-Step Process for Rooting
- Common Mistakes to Avoid
- FAQs
- Conclusion
Introduction
Picture a sunny afternoon in your garden, where you notice a vibrant rose bush adorned with beautiful blooms. You want to preserve that beauty by rooting rose cuttings. However, without a rooting hormone, the task can seem daunting. You may worry about whether your cuttings will thrive and produce new growth. The good news is that rooting cuttings naturally is entirely achievable, and with the right approach, you can extend your rose collection without relying on chemicals. Keep reading to find out how to do this successfully.
Essential Materials
Before you dive into the process, gather these essential materials. They will set the foundation for your successful rose propagation.
- Healthy rose clippings (6-8 inches long)
- Sharp, clean pruning shears
- Pots or containers with drainage holes
- Well-draining potting soil or a mixture of sand and peat
- Plastic bags or plastic wrap to create humidity
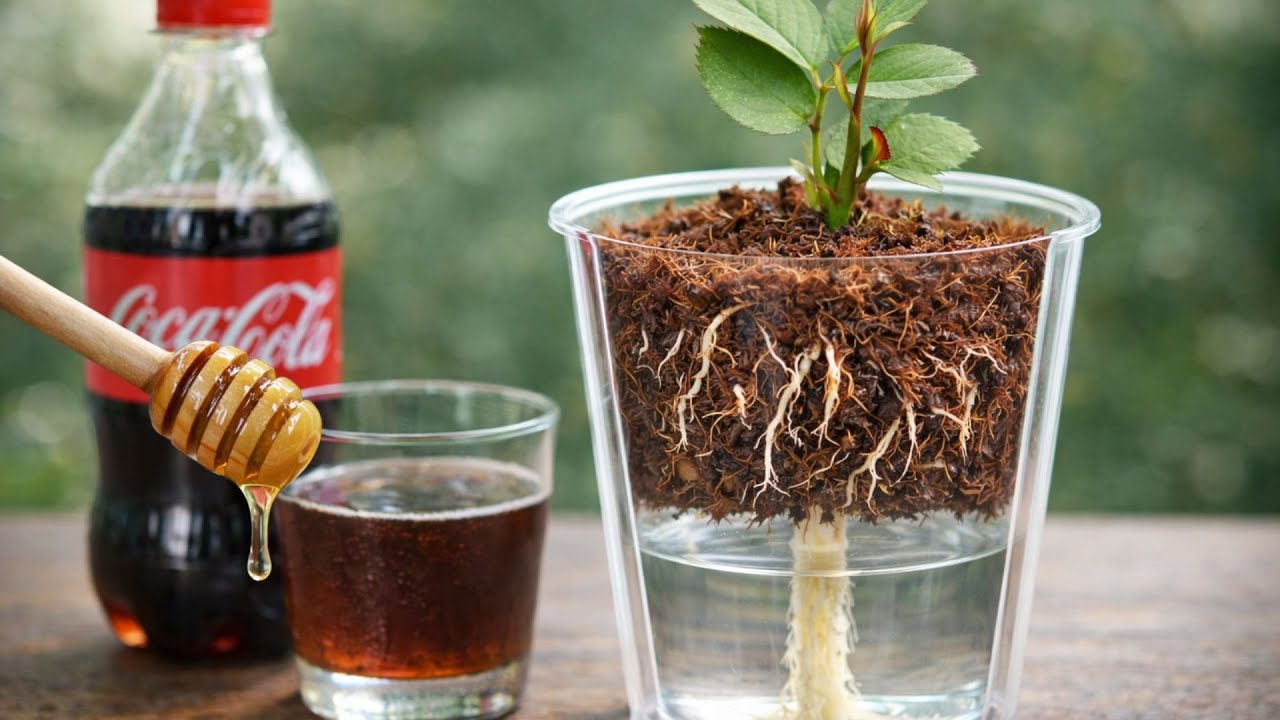
Step-by-Step Process for Rooting
Now, let’s break down the rooting process into simple steps. Follow these guidelines to enhance your chances of success.
1. Choosing Cuttings
Select healthy stems from your rose bush, preferably those that are disease-free and somewhat woody. The best time to take cuttings is during late spring or early summer.
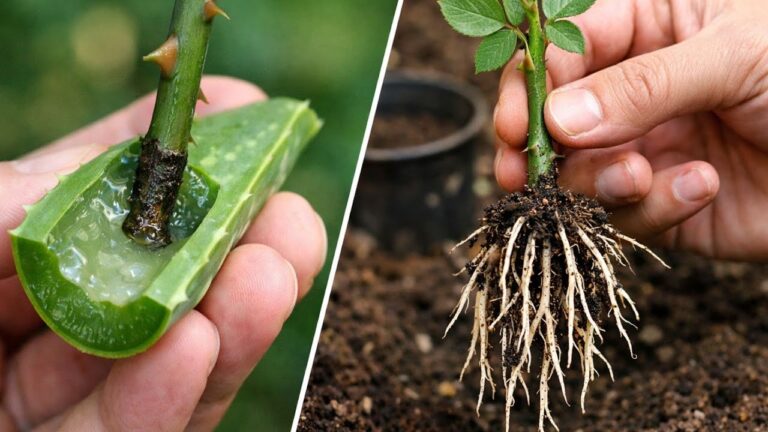
2. Cutting Technique
- Snip a 6-8 inch segment just below a leaf node. This node is where roots will eventually grow.
- Remove any flowers or buds to conserve energy for root development.
- Trim the leaves, leaving only the top two leaves intact to reduce moisture loss.
3. Prepping Pots
Fill your pots with well-draining soil. Water the soil lightly to ensure it is moist, but not soggy. Insert the cuttings into the soil about 2-3 inches deep, ensuring that at least one node is beneath the surface.
4. Creating Humidity
Cover the pots with plastic bags or wrap to maintain humidity. Make sure the bags do not touch the leaves, as this can promote rot. Place the pots in a warm, bright spot, ideally out of direct sunlight.
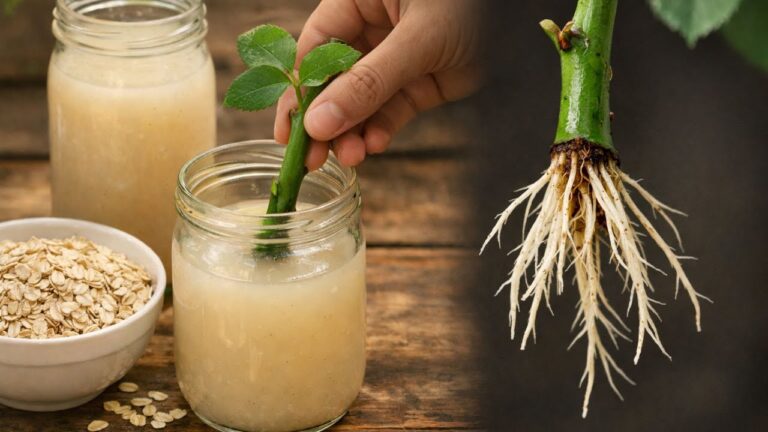
5. Watering and Rooting
Keep the soil moist but not waterlogged. Water the cuttings every few days as needed. Be patient; it can take 4-6 weeks for roots to form. Gently tug on the cuttings to check for resistance, which indicates root growth.
Common Mistakes to Avoid
Even experienced gardeners may encounter challenges while rooting rose cuttings. Here are some common mistakes to avoid during the process:
- Overwatering the cuttings, which can lead to rot.
- Using cuttings from unhealthy or disease-infected plants.
- Failing to provide adequate humidity, leading to moisture loss.
- Using inappropriate soil that doesn’t drain well.
- Not ensuring the cuttings are properly positioned in the soil.
FAQs
How long does it take for rose cuttings to root? It typically takes 4-6 weeks for rose cuttings to develop roots, depending on the variety and conditions.
Can I root rose cuttings in water? While it’s possible, rooting in soil tends to yield stronger plants that adapt better to garden conditions.
What should I do if my cuttings start to yellow? Yellowing leaves can indicate overwatering, pests, or lack of nutrients. Adjust your care as needed.
Conclusion
Successfully rooting rose cuttings without hormones is entirely achievable with the right techniques. By selecting healthy cuttings and creating a nurturing environment, you can expand your rose collection beautifully. Have you tried propagating roses before? Share your experiences in the comments!