Can Roses Root in Water? Discover the Truth After 21 Days!
Can Roses Root in Water? Discover the Truth After 21 Days
- Introduction
- Understanding Rooting in Water
- Preparing Your Roses for Water Rooting
- Common Mistakes to Avoid
- FAQ
- Conclusion
Introduction
Picture this: a beautiful bouquet of roses sits on your kitchen counter, but as the days pass, you notice them wilting. Instead of throwing them away, you consider a new life for them. The idea of rooting cut roses in water can be tempting. You wonder if this method really works or if it’s merely a flower lover’s old wives’ tale. What if it’s possible to see fresh blooms emerge from those tired stems? Let’s explore the reality of rooting roses in water and what you might expect after 21 days.
Understanding Rooting in Water
Rooting roses in water is a popular method among gardening enthusiasts. But how does it actually work?
Benefits of Rooting in Water
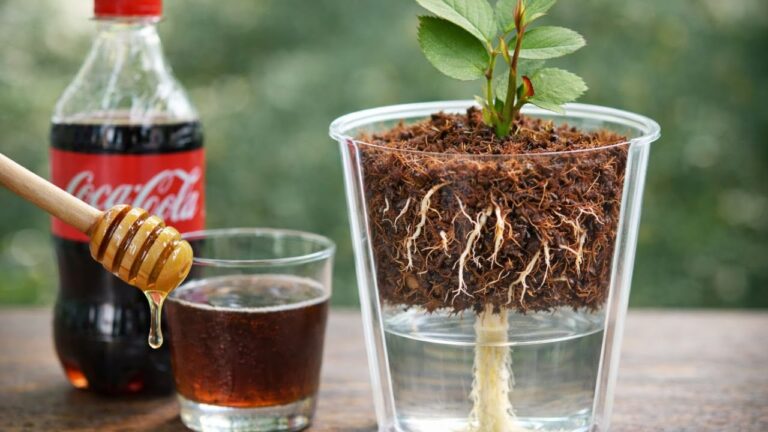
Rooting in water allows for a clear view of the process. You can monitor the growth of roots without disturbing the cutting. This method can also encourage faster rooting as plants often thrive in moisture-rich environments.
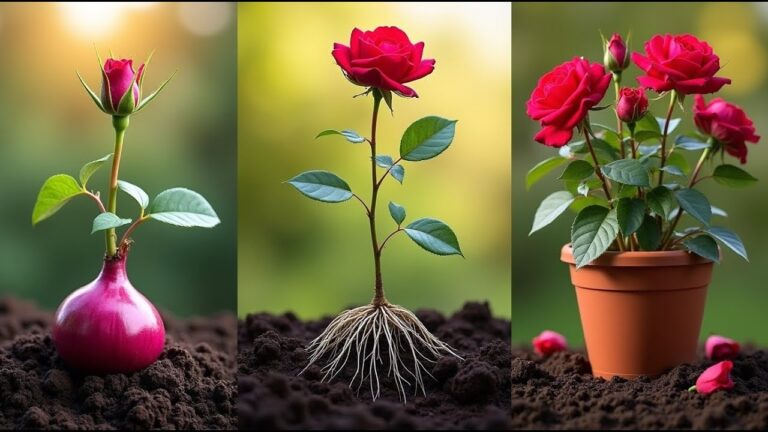
What to Expect in 21 Days
After 21 days, if your roses are successful, you can expect to see small white or green roots developing. Although this may take longer in colder temperatures, patience is key, and you can enjoy watching the progress unfold.
Comparison with Soil Rooting
While rooting in soil is another viable option, it may take longer to monitor root development since it’s hidden from view. Each method has its unique advantages, but many people prefer the water method for its simplicity and visibility.
Preparing Your Roses for Water Rooting
Before you start, proper preparation is crucial for success.
1. Selecting the Right Cuttings
- Choose healthy stems, ideally from a plant that is known to root well.
- Cut stems that are about 6 to 8 inches long, making your cut just below a node.
- Remove any leaves that will be submerged in the water to prevent rot.
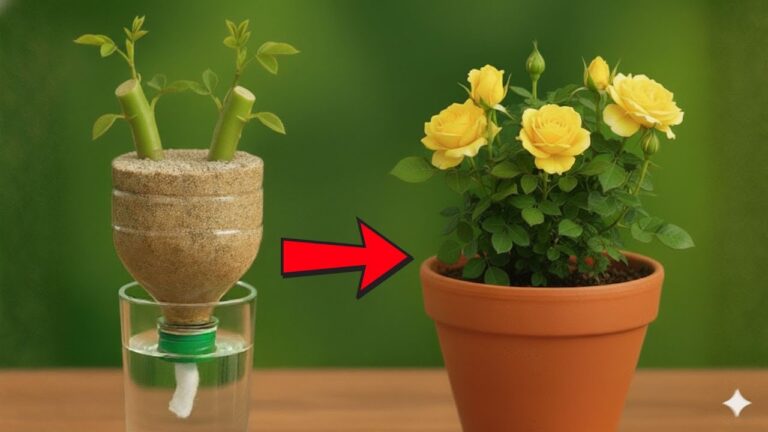
2. Setting Up Your Water Container
A suitable container will help your roses thrive. Here’s how to prepare it:
- Use a clean, clear glass or vase to allow light in and promote root growth.
- Fill the container with room-temperature water, ensuring it’s at least a few inches deep.
- Consider adding a few drops of liquid rooting hormone to encourage faster growth.
3. Positioning Your Cuttings
Now that your cuttings are ready, place them in the container:
- Ensure the cut ends are submerged in water while the leaves are above.
- Keep the container in a warm, bright location but avoid direct sunlight to prevent overheating.
- Change the water every few days to keep it fresh and oxygenated.
Common Mistakes to Avoid
Avoiding certain pitfalls can lead to a more successful rooting experience.
1. Using Dirty Containers or Water
Not cleaning your container adequately can introduce bacteria that harm your cuttings. Always use clean materials.
2. Overcrowding the Cuttings
Placing too many cuttings in one container limits their space and access to nutrients, which can lead to unsuccessful rooting.
3. Ignoring Water Levels
Letting the water level drop too low can dry out the cuttings. Ensure the water level stays consistently high without submerging any leaves.
FAQ
Can all rose varieties be rooted in water?
While many rose varieties can successfully root in water, some may yield better results than others. Experiment with different types to find what works best for you.
How often should I change the water?
It’s best to change the water every 3 to 5 days to keep it fresh and promote healthy root growth.
What should I do after rooting in water?
Once roots are established, you can gently transplant your roses into potting soil to continue their growth.
Conclusion
Rooting roses in water can be a rewarding endeavor if done carefully. With the right preparation and a bit of patience, you can enjoy new blooms. Have you tried propagating roses before, and what was your experience? Share your thoughts in the comments below!