Root Rose Cuttings Overnight with This 1 Natural Mix You Need to Try!
Root Rose Cuttings Overnight with This Natural Mix
- Introduction
- Why Choose a Natural Rooting Mix?
- Preparation of Rooting Mix
- Steps to Root Your Cuttings
- Common Mistakes
- FAQ
- Conclusion
Introduction
Many gardeners dream of expanding their rose garden with beautiful blossoms, yet the thought of propagating new plants can feel daunting. You might find yourself staring at beautiful rose cuttings, unsure of how to encourage them to root successfully. While there are various methods, using a natural rooting mix can simplify the process, helping you achieve success without the need for complicated techniques. Let’s explore how you can create the perfect environment for your rose cuttings to thrive.
Why Choose a Natural Rooting Mix?
Utilizing a natural rooting mix offers several advantages for your rose cuttings. Here’s why you might consider this approach:
Benefits of Using Natural Ingredients
- Improves root development by providing essential nutrients.
- Creates a healthier environment by avoiding chemicals.
- Encourages faster growth rates compared to commercial products.
Environmentally Friendly Option
Opting for a natural mix is not only beneficial for your cuttings but also promotes sustainability. You reduce the chances of chemical runoff, protecting your garden and surrounding areas.
Preparation of Rooting Mix
Creating your own natural rooting mix is both simple and rewarding. Gather the following ingredients:
Essential Ingredients
- 1 part organic compost
- 2 parts perlite or vermiculite
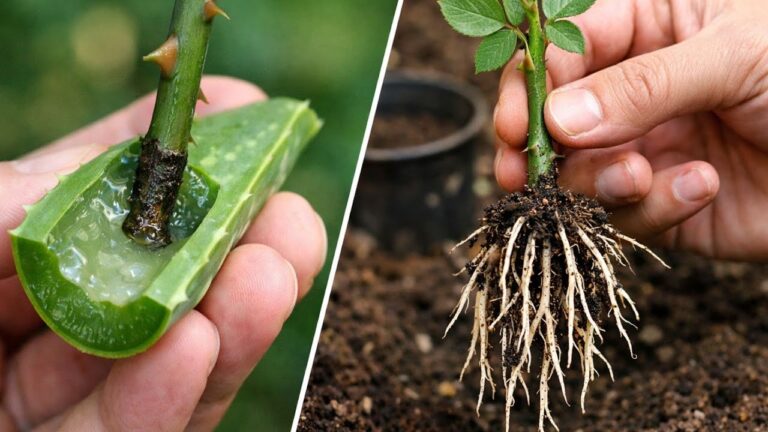
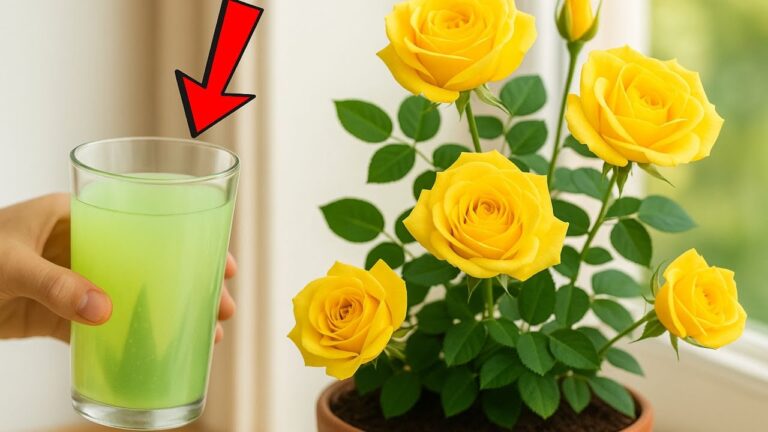
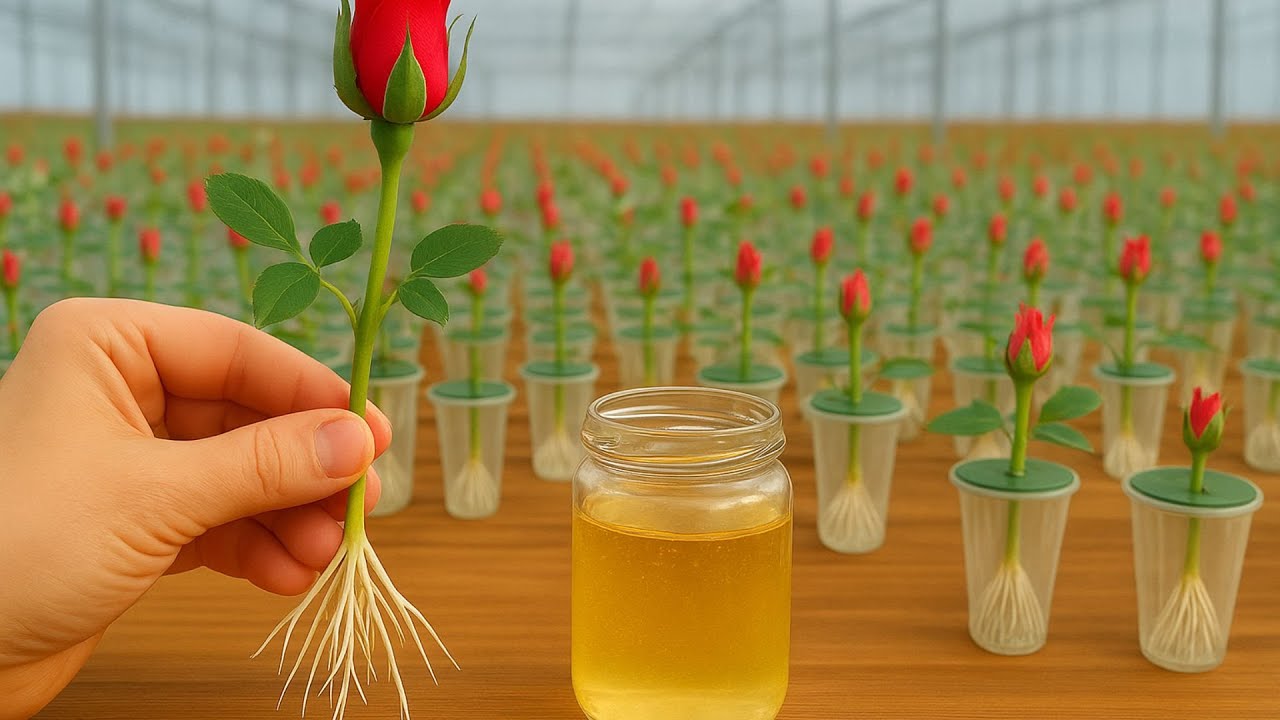
- 1 tablespoon honey or aloe vera gel
Steps to Create the Mix
- Combine the compost and perlite or vermiculite in a mixing container.
- Mix well to ensure an even distribution of materials.
- Add the honey or aloe vera gel; these natural substances provide rooting hormones.
- Blend everything together until you achieve a consistent texture.
Your natural rooting mix is now ready for use, setting the stage for successful rose propagation.
Steps to Root Your Cuttings
With your natural rooting mix in hand, it’s time to start rooting your rose cuttings. Follow these simple steps:
Preparing Your Cuttings
- Select healthy rose stems, ideally 6 to 8 inches long, with several nodes.
- Cut below a node at a 45-degree angle, using clean pruning shears.
- Remove any lower leaves, leaving just a few for photosynthesis.
Setting Up the Cuttings
- Fill small containers or seed trays with your natural rooting mix.
- Make holes in the mix, ideally about 2-3 inches deep, to place your cuttings.
- Insert the cuttings into the holes, ensuring they’re secure and upright.
- Water gently to settle the mix around the cuttings.
Your cuttings will thrive best in a warm, humid environment, so consider lightly covering them with plastic to retain moisture.
Common Mistakes
Though rooting rose cuttings can be straightforward, several common pitfalls may hinder your success:
- Not using fresh cuttings can lead to poor rooting.
- Insufficient moisture can dry out cuttings before they root.
- Using too much fertilizer prematurely can burn young roots.
- Ignoring the need for adequate humidity can stunt growth.
FAQ
How long does it take for rose cuttings to root?
It typically takes about 2 to 4 weeks for rose cuttings to root, depending on the environment and care provided.
Can I use store-bought rooting hormones instead?
While store-bought options are effective, using a natural mix can be just as beneficial and more environmentally friendly.
What should I do after the cuttings root?
Once your cuttings have developed roots, you can transplant them into larger pots and care for them as you would mature roses.
Conclusion
Using a natural rooting mix can greatly improve your chances of successfully propagating rose cuttings. With just a few simple steps, you’ll be on your way to a flourishing rose garden. Have you tried rooting cuttings before, and what tips do you have for fellow gardeners?